DraftSight Filters
The SelectionFilter command in DraftSight allows you to create selection sets to filter entities within DraftSight. Simply put, it allows you to filter entities by various different criteria. You could, for example, create a filter to find all objects with the colour Red.
To start the SelectionFilter command, type SelectionFilter or Filter at the command prompt. The SelectionFilter dialogue box will appear on screen.
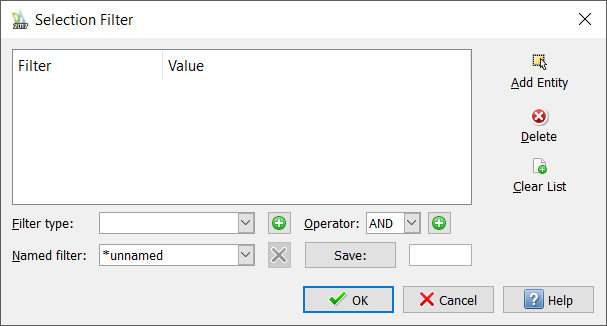
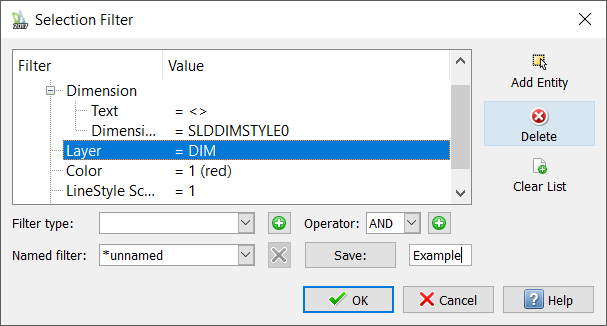
Next, click on Add Entity and select the entity you want to add to the filter set. The dialogue box will temporarily disappear to allow you to select your entity. Once you have made your selection, it will reappear. In the example below, we selected a dimension.
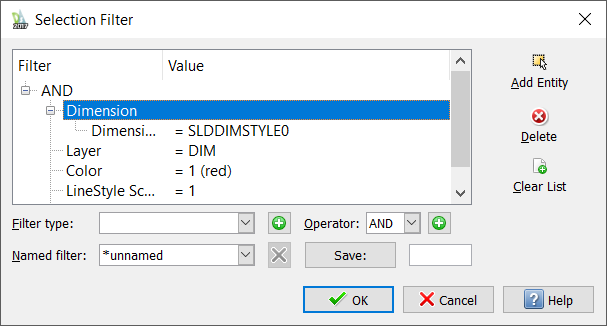
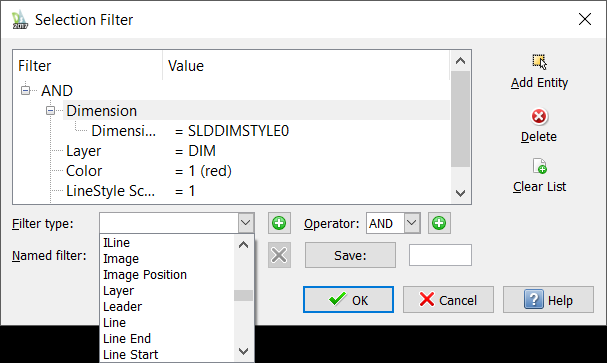
You can continue to add more entities to your selection filter by clicking on Add Entity. Once you are happy with your selections, you can refine the filter by setting some options. Click on Filter Type and you can select other entities to help you narrow down your filter.
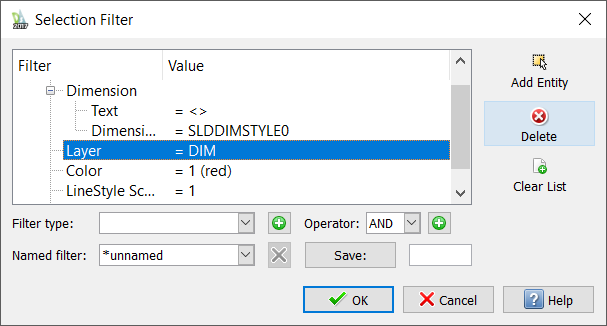
You can also edit your SelectionFilter to remove unwanted selection criteria. For example, we will remove the Layer criteria in our Filter. To do this, we just highlight Layer and click on Delete.
Once you are happy with your SelectionFilter, you can either apply it to the drawing by clicking OK and specifying the entities you’d like to apply the filter to, or you can save your SelectionFilter for future use. To do this, enter a name for your filter and click on Save. We named ours Example.
So that’s a brief introduction to the SelectionFilter command in DraftSight 2017. It’s a very powerful tool and worth spending some time exploring the various different options in the command.
As always, for more information, check out the DraftSight 2017 help file.
Discover more about DraftSight Professional, a powerful 2D design solution for professionals that includes productivity tools and an API for just $99. www.DraftSight.com/Professional
To purchase DraftSight Professional with its productivity-boosting features for just $99, click here.


