3D in DraftSight 2018


We are all aware of the excellent 2D features available within DraftSight Professional 2018, but did you know that you can also draw in 3D? Well you can! So, in today’s blog, we are going to create a simple 3D drawing just to show you what can be done.
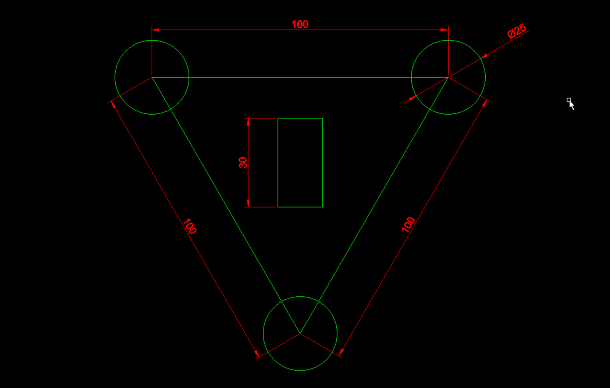
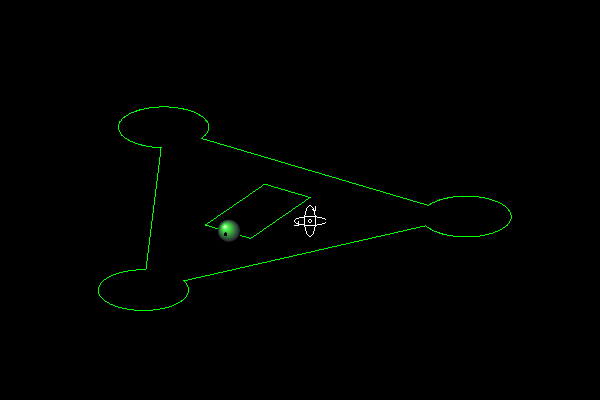
The basic layout of the part we are going to draw is shown below. It’s just a simple triangle with some curves and a cutout.
The next step is to quickly edit the shape to get rid of lines we don’t need. I’m also going to turn off the dimensions layer.
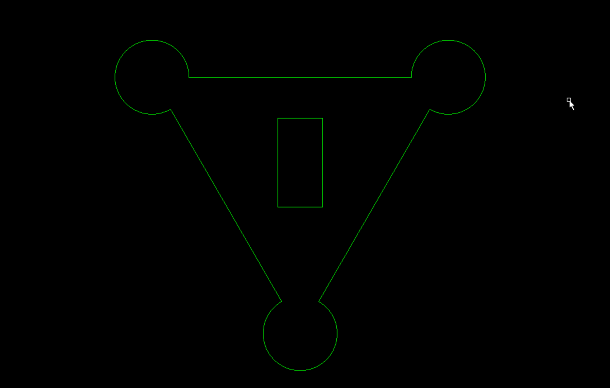
As you can see, it’s a nice simple shape, nothing too extravagant. Next, we are going to join all the lines together using the EditPolyline command. Once you start the EditPolyline command, click on one of the lines, then enter Y for Yes to convert it to a Polyline. Next, type J for Join and select the other lines you want to turn in to a Polyline and hit Enter. You should now have successfully joined the outside lines into one Polyline.
OK, so that’s the boundary turned into a Polyline. The rectangle is already a Polyline, so we don’t need to do anything with that.
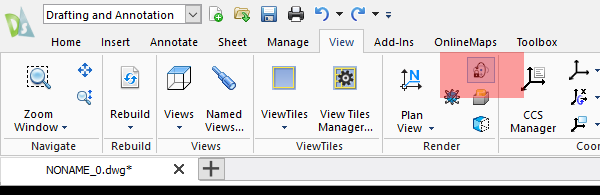
The next step is to view our drawing at an angle. To do this, click on the Constrained Orbit button located in the View menu.
Hold down the mouse button and drag the cursor around the screen until you are happy with the view.
Just click Enter to exit the command.
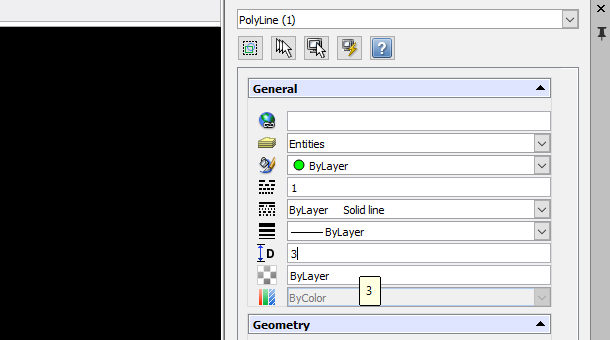
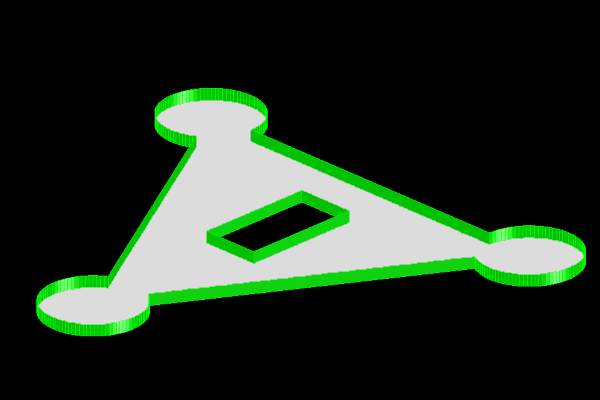
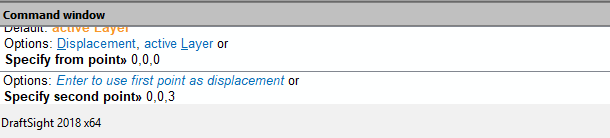
Now we are going to give our part some height (Z Axis). Just select the Polyline and in the Properties dialogue box, under General, enter a depth in the Thickness field. You can see below, we entered a Thickness of 3.
Now if we zoom out, you’ll see that the part now has a height.
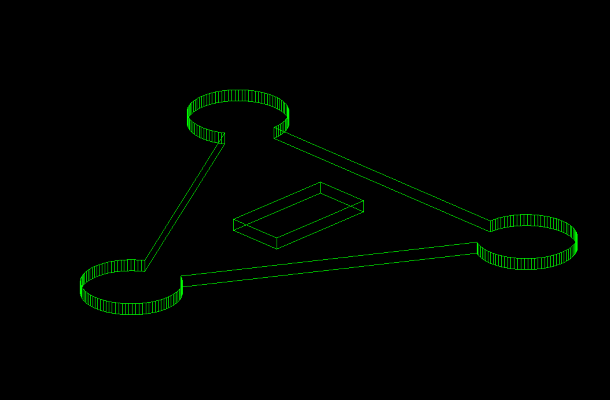
If we run the Shade command, you’ll see that the part gets, well, shaded!

Next, I want to give the part a Top and Bottom face. The simple way to do this is to use the hatch command. We’ll use the Solid hatch for this.
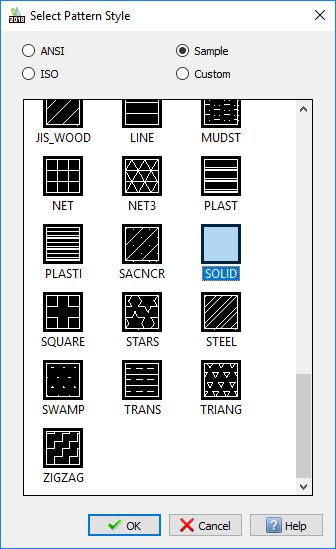
The we just select the area we want to hatch and with in a couple of clicks, we have a face.
Next step is to use the Copy command to copy that face to the top of the part. As we mentioned previously, we used a Height of 3, so we select the hatch and use the fparameters:
And we end up Top face and a Bottom face!
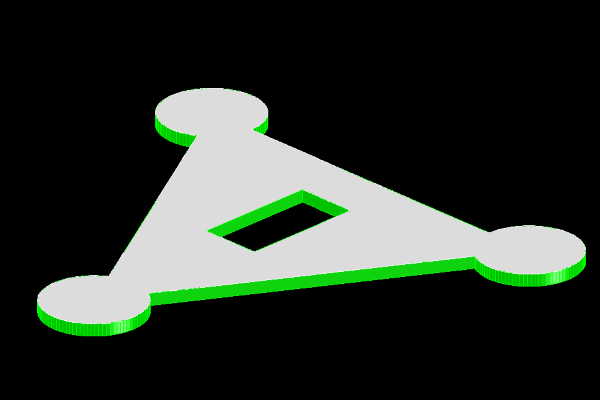
If we click on the Constrained Orbit button again and rotate, we can see both faces of the part.
So that’s it, that’s a simple example of creating a 3D object in DraftSight Professional 2018. Depending on your requirements, DraftSight might suit your 3D needs, but if not, don’t forget to check out SOLIDWORKS!
Learn more about DraftSight 2018 here.
Purchase DraftSight Professional 2018 for as low as $149 here.
Latest posts by DraftSight (see all)
- Shanghai International Circuit: The Geometry Behind the Chinese Grand Prix - March 13, 2026
- Engineering Precision: Melbourne’s Grand Prix Circuit with DraftSight - March 6, 2026
- When DraftSight Needs a Fresh Start: How to Reset to Default Settings - February 4, 2026