8 Ways To Get More Productive with DraftSight® Professional


In previous blogs, we’ve given you tips and tricks to help speed up productivity in DraftSight. In today’s blog, we’re going to feature another 8 ways you can increase your productivity when using DraftSight Professional 2018. So, in no particluar order, these are our latest time saving tips!
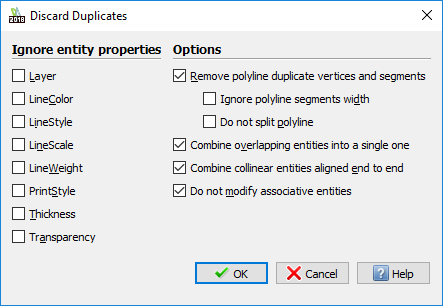
1: Discard duplicate or overlapping entities, create single entities from adjacent entities.
DraftSight Professional 2018 allows you to produce clean drawings by easily removing duplicate entities or overlapping parts. How do you do this? Well you use the Discard Duplicates command that can be found in the Modify Tab.
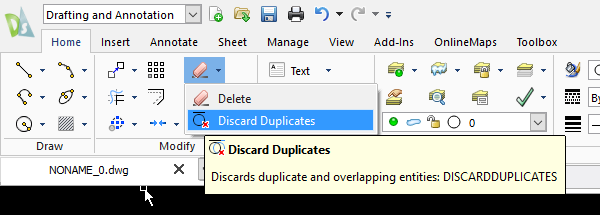
Once you run the command and select the area you want to check for duplicates, select the options you’d like to apply and click on OK.
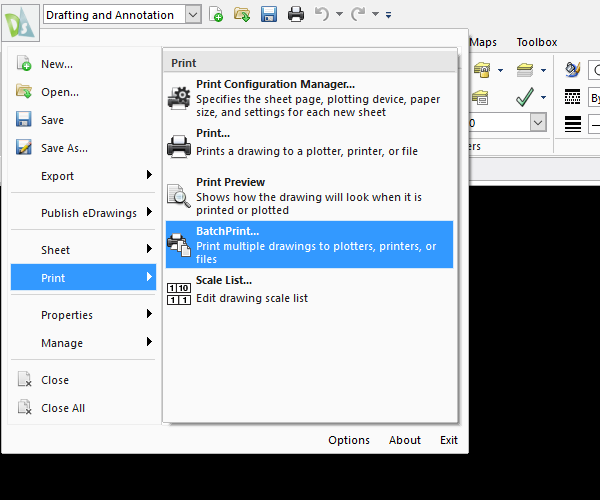
2: Batch print files or folders of files without having to open them.
DraftSight Professional 2018 will save you time by sending all of your drawings to the printer or plotter at once with the Batch Print command. The Batch Print command can be found in the Print Menu.
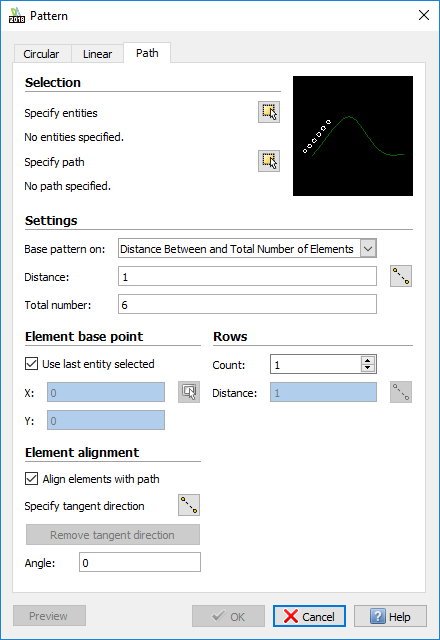
3: Place multiple copies of the same object along a path.
In DraftSight Professional 2018, you can quickly and accurately insert entities Along a Path. To do this, select the Array command and then click on the Path Tab and just change the settings to suit your requirements.
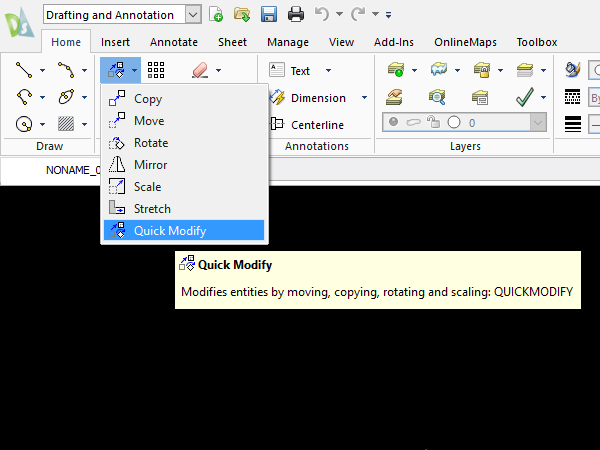
4: Copy, move, rotate and scale entities with one command.
With DraftSight Professional 2018, you can save steps when modifying entities with the Quick Modify command. The Quick Modify command can be located on the Modify Tab. Just run the command, select the entity you would like to modify and follow the prompts in the Command Window.
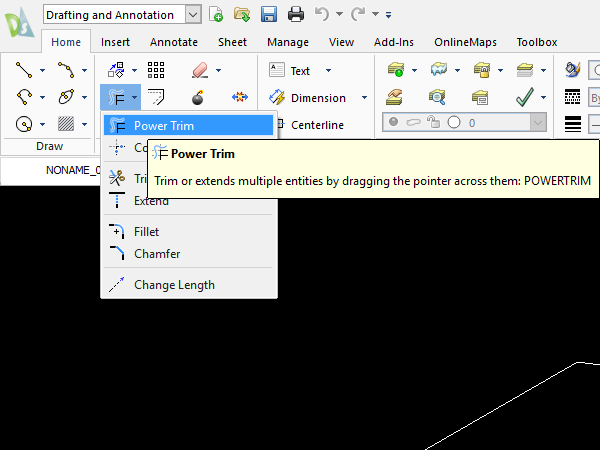
5: Trim and extend entities by clicking and dragging the cursor.
Start the PowerTrim command from the Modify Tab and no other commands are needed. Simply use your mouse to trim and extend entities.
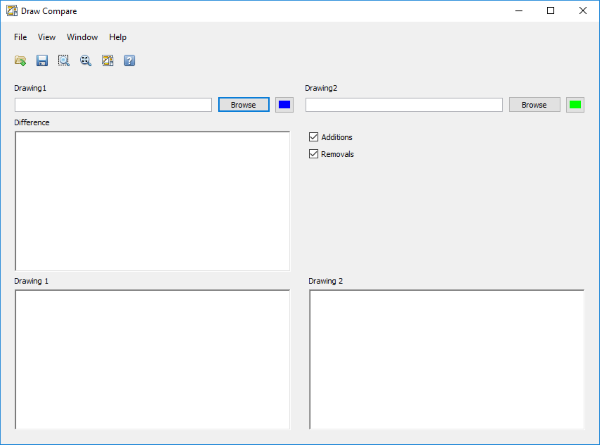
6: Graphically compare similar drawings to find their differences.
From time to time, we all seem to end up with drawings that not only are named similar, but also look similar. DraftSight Professional 2018 quickly allows you to visualize differences between these drawings with the Draw Compare command. Just start the command, load your drawings and let DraftSight do the rest!
7: Place dimensions with widgets for automatic alignment and spacing.
Using DraftSight Professional 2018, you can get neat and legible dimensions with ease that are automatically aligned and spaced. How do you do this? It’s simple, use a Bounding Box. Check out this previous blog post that goes into detail on how to use the command.
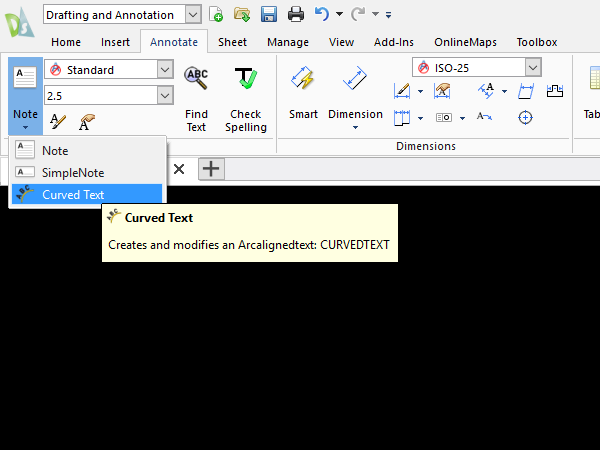
8: Place curved text along an arc.
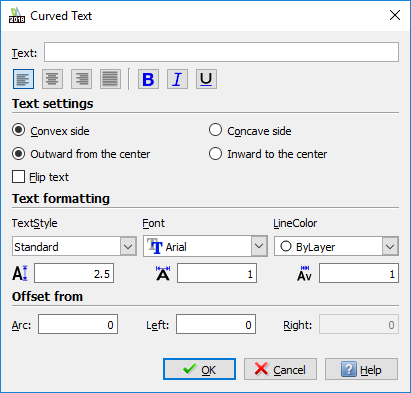
DraftSight Professional 2018 allows you to easily place text along an arc by selecting “curved text” from the annotate tab.
Select the arc you want to place your text on, and the fill out the dialogue box.
So, that’s our 8 Ways To Get More Productive with DraftSight® Professional. As always, the DraftSight Help File is full of information on how to use these commands should you need it.
Learn more about DraftSight 2018 here.
Purchase DraftSight Professional 2018 for as low as $149 here.
Latest posts by DraftSight (see all)
- Shanghai International Circuit: The Geometry Behind the Chinese Grand Prix - March 13, 2026
- Engineering Precision: Melbourne’s Grand Prix Circuit with DraftSight - March 6, 2026
- When DraftSight Needs a Fresh Start: How to Reset to Default Settings - February 4, 2026