Zoom a Viewport to Scale
This week, a client asked if I could explain how to set a viewport to a specific scale. It’s not the easiest thing to get your head around, so it took a little time for me to explain. I thought I’d put it down in a blog for others who are having similar issues.
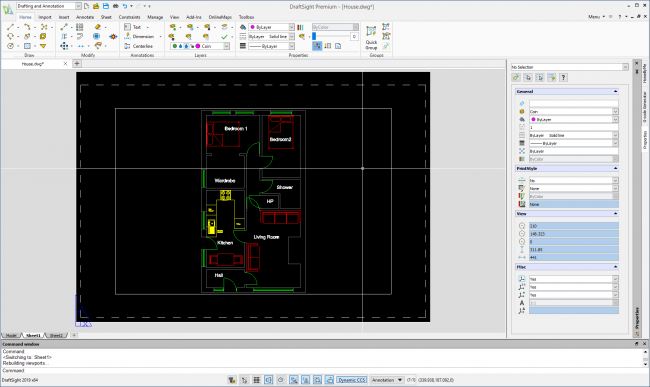
OK, so you’ve created your drawing and you would now like to add a title block and print the drawing out to scale. The first thing to do is to click on the Sheet 1 tab at the bottom of the screen.

Clicking on Sheet 1 will bring you to Sheet Space.

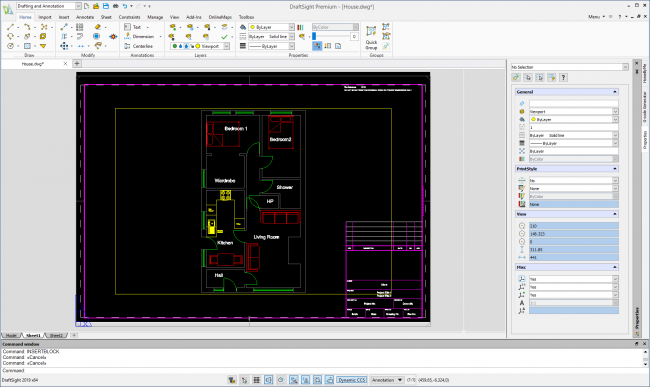
As you can see, there is already a viewport present by default. I like to create a Layer called Viewport and put the existing viewport on that layer.
Next, I insert my title block from an existing library I have. The title block, just like any other block, is just an ordinary DWG file. If you search the internet, you will find many examples of title blocks freely available to download.

So, now we have out viewport on the correct layer and we have our title block inserted. The next step is to zoom the viewport to scale.
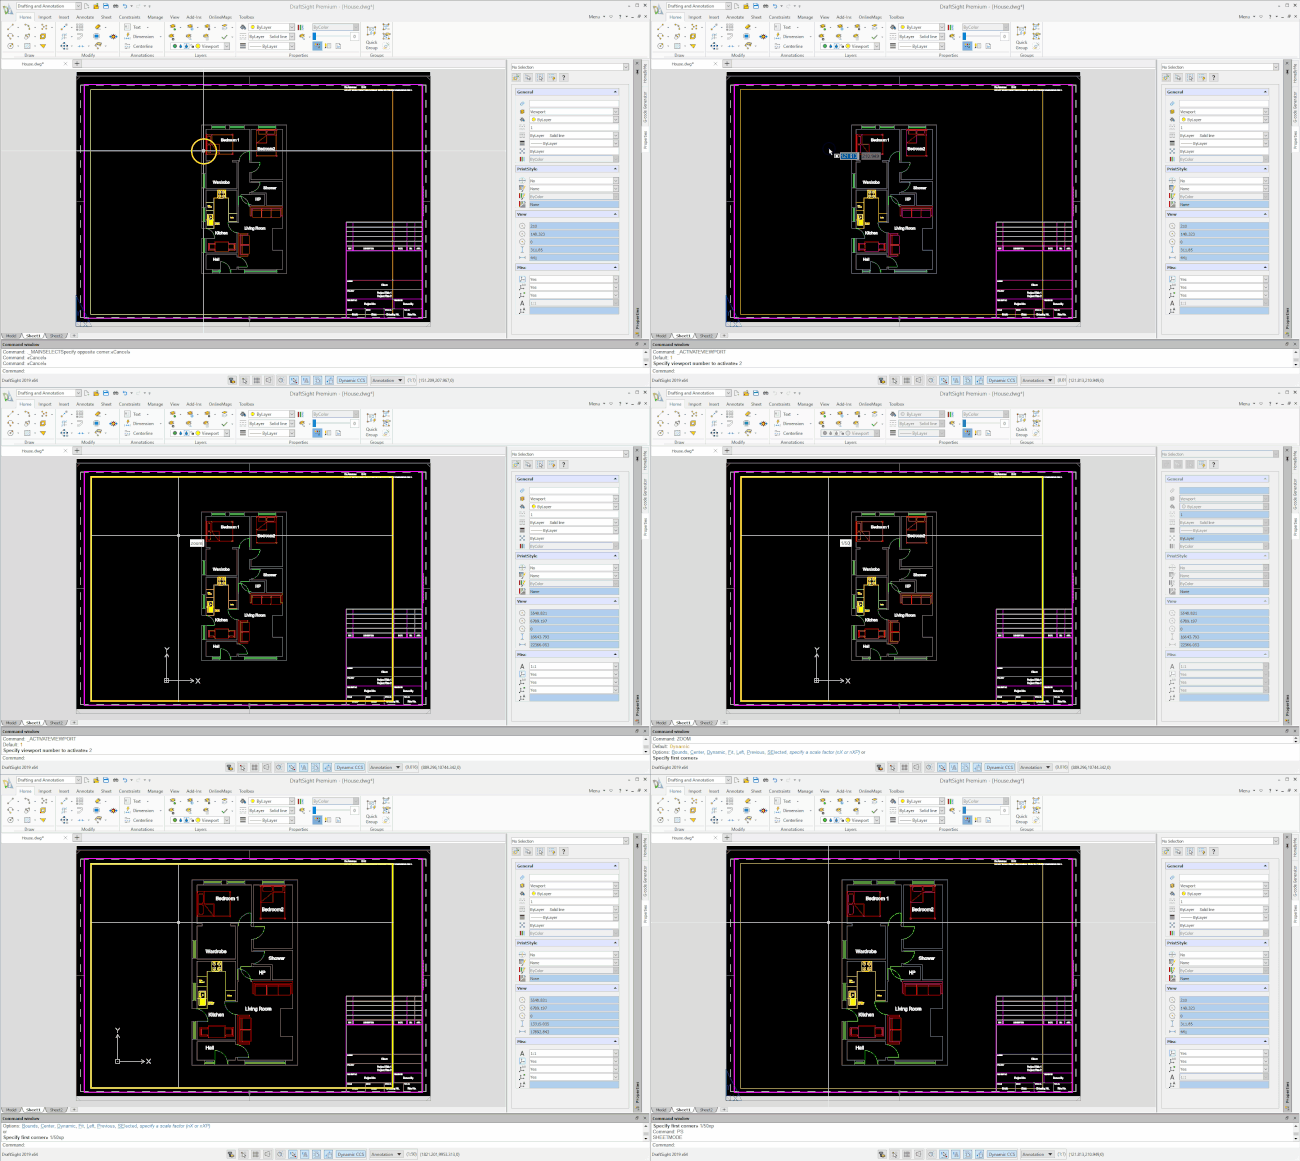
Double click within the viewport boundaries. Then, type Zoom and the Command Line. Next, enter the scale you would like to use. In this case, I’ll use 1/50. So, when prompted, I enter 1/50xp. Don’t forget to add the xp, it’s very important as the viewport will not scale correctly without it. You can see the command in action below. Obviously you can use whatever scale you like as long as it follows the A/Bxp style.

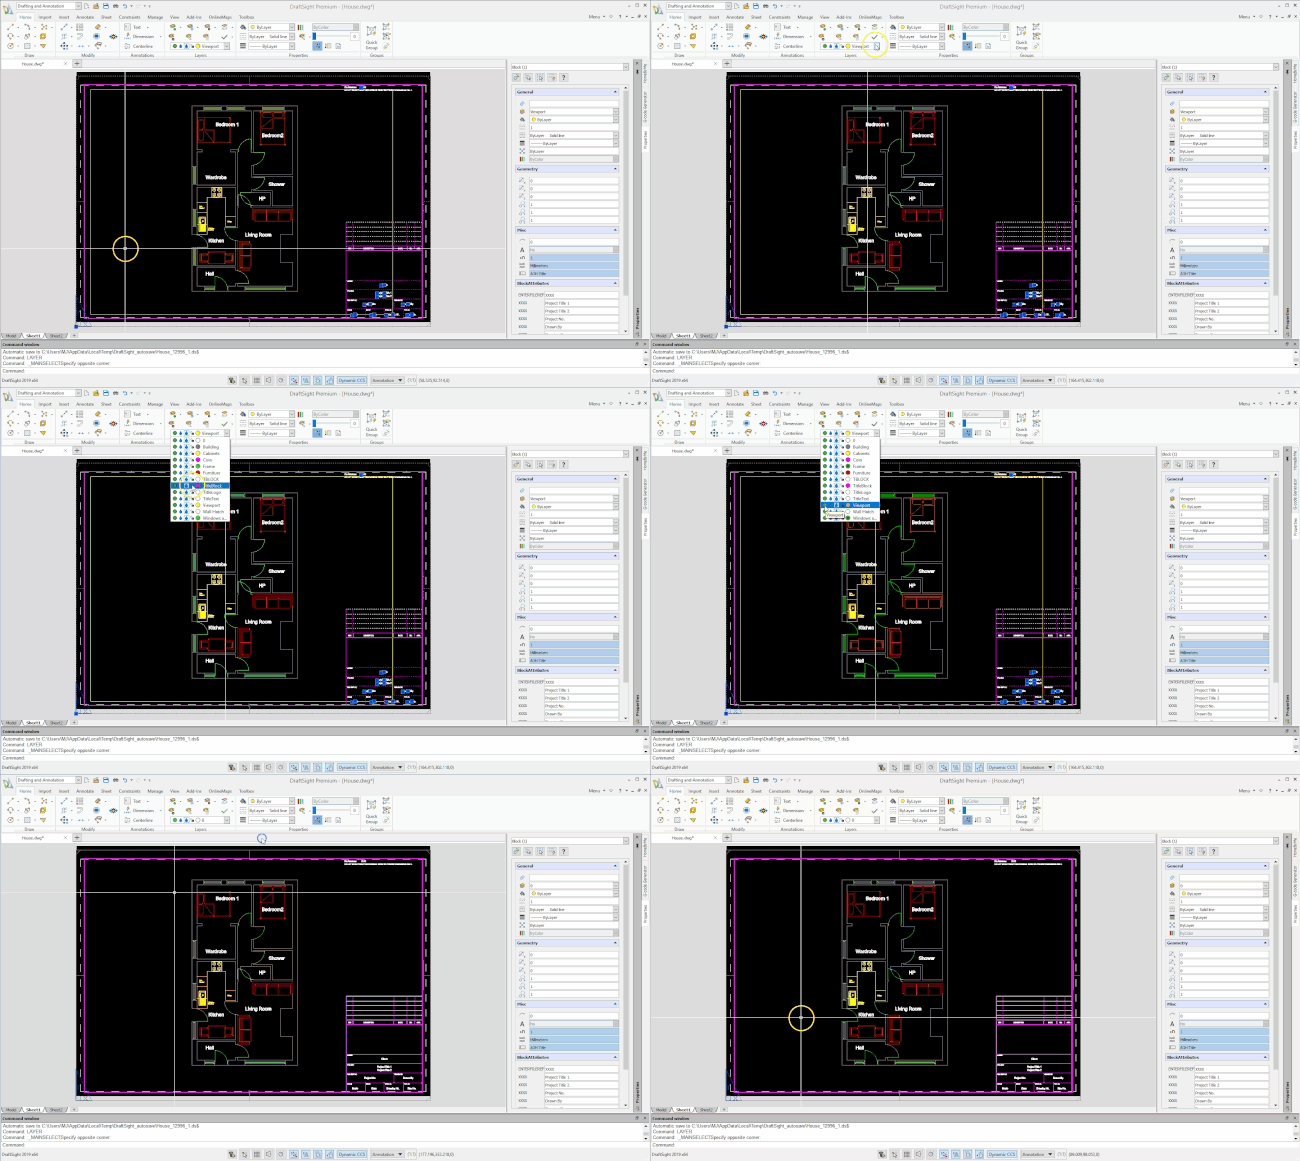
The only thing left to do is to turn off the viewport layer to tidy up the drawing. The easiest way to do this is to select the layer from the drop down menu and turn it off. You can see that in action in the clip below.

And that is how to quickly and easily Zoom a Viewport to Scale in DraftSight.
IMPORTANT:
Learn more about DraftSight here.


