Mask Command – DraftSight 2019


What is the Mask command in DraftSight 2019? Well, to put it simply, it masks, or hides an area of a drawing. Now, why would you want to do that? Well, perhaps there are areas of your drawing that don’t relate to the current project you are working on and if they were included, it may lead to some confusion.
Rather than go to the trouble and effort of deleting an area of the drawing, you can just create a Mask and that will hide the area from view. If, at some stage in the future, you do need to show that area, you can just remove the Mask.
So, how do you use the Mask command? Well it’s quite easy really. Just select Mask from the menu or enter Mask at the command line.

We’ll use one of the examples that comes with DraftSight to demonstrate.
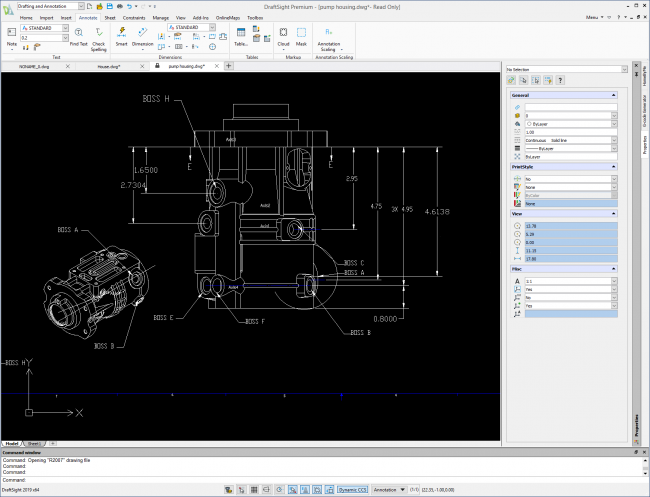
Rather than delete the isometric on the bottom let, we will mask the area off. So, to start with, we select the Mask tool from the menu.

Next, select your start point for the mask and keep selecting points till you are happy with the coverage. Then, hit the Enter key. and your mask is created.

As you can see above, you are left with a frame around the area you have masked off. You probably don’t want to show this, so at the command line, type Mask -> Frame -> No and close out of the command. Your frame will then disappear.

You can see the command in action in the animation below.
And that’s how to use the Mask command in DraftSight 2019!
Latest posts by DraftSight (see all)
- Shanghai International Circuit: The Geometry Behind the Chinese Grand Prix - March 13, 2026
- Engineering Precision: Melbourne’s Grand Prix Circuit with DraftSight - March 6, 2026
- When DraftSight Needs a Fresh Start: How to Reset to Default Settings - February 4, 2026