Getting Started with DraftSight Learning Path

We are excited to announce our new Getting Started with DraftSight Learning Path, a series of seven short videos to help you get started with DraftSight, is now available. The Learning Path series will take you through the basics of DraftSight, including managing drawings, using core design, modification, and dimensioning tools, using blocks for repeatable content and printing options.
We’ll share a brief overview of the Learning Path videos:
Lesson 1 – Introduction to DraftSight – 6 minutes
Lesson one provides an overview of DraftSight, how to get started, and how DraftSight can help you and your organization. The introduction also explains the differences between the different DraftSight product offers.
Lesson 2 – Managing Drawings in DraftSight – 7 minutes
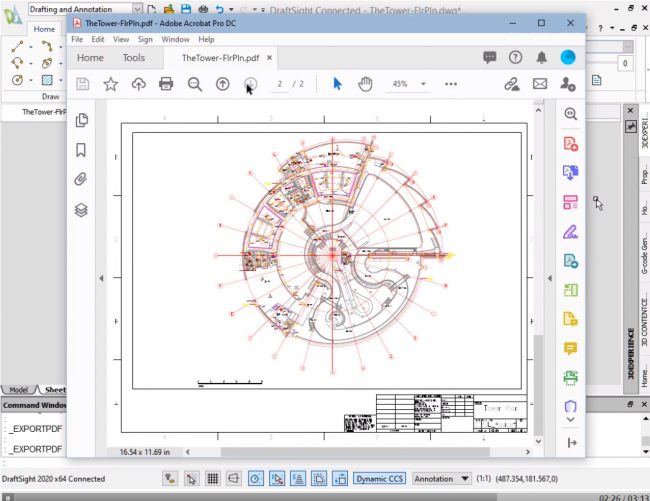
DraftSight includes several standards templates to help you efficiently create drawings. Lesson two covers creating a new drawing, creating, and using templates, and exporting drawings to PDF. The lesson also shares how to save and reserve drawings on the cloud-based 3DEXPERIENCE platform.

Lesson 3 – DraftSight Design Tools – 17 minutes
A variety of feature commands are required to complete a design. The focus of lesson three is on the draw tool feature commands. The lesson cover setting your drafting options, drawing lines, circles, rectangles, and polygons, Copy and Pattern entities, Fillet and Chamfer edges, loading line styles, and modifying entity properties.
Lesson 4 – DraftSight Modification Tools – 12 minutes
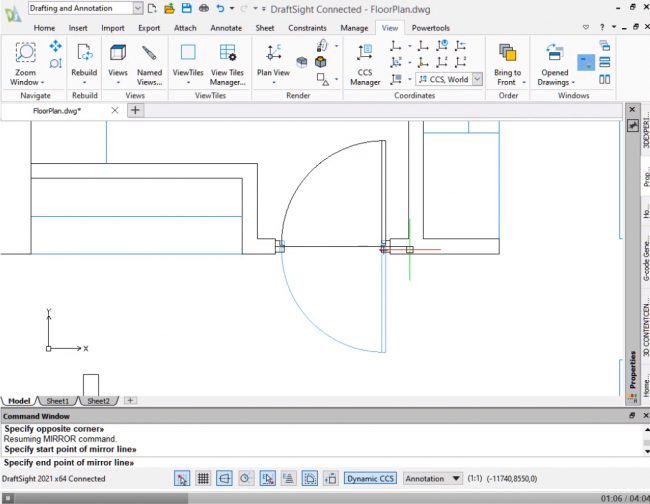
Lesson four covers some of DraftSight’s most used modification commands including Mirror, Copy, Rotate, Move, Explode, Delete and Stretch. The lesson also shares one of DraftSight’s top time-savers, PowerTrim, which helps you efficiently trim unwanted entities. For more on PowerTrim, you can learn why PowerTrim is Lynn Allen’s all time favorite command.

Lesson 5 – DraftSight Dimensioning Tools – 13 minutes
Dimensioning is a vital part of most designs; adding dimensions help share clear design direction and construction interpretation. Lesson five provides an overview of applying a LinearDimension, adjusting drafting styles, creating, and using bounding boxes, using a SmartDimension and widgets, and using pallets to modify dimensions.
Lesson 6 – Blocks in DraftSight – 18 minutes
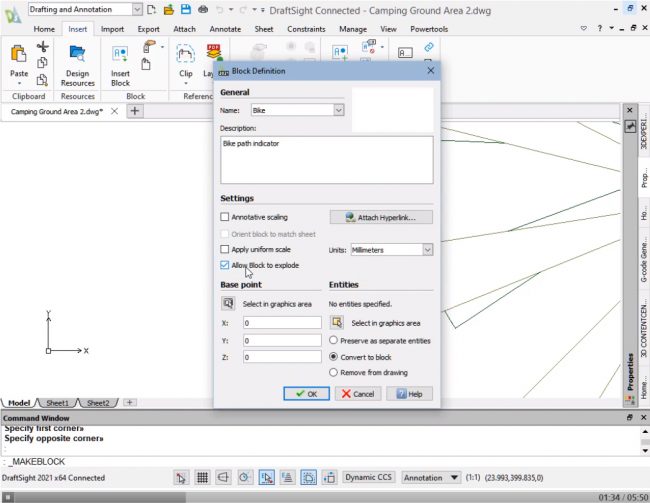
Groups of entities can act as a single named block object. Blocks reduce the overall size and complexity of a drawing, which makes modifications easier. Blocks are ideal for repeat content, such as standard symbols or common drawing components. Blocks can be rotated and scaled, and there are multiple ways to create blocks. DraftSight also allows the use of Dynamic Blocks. Lesson six covers defining a block from entities, pasting copied entities as a block, inserting blocks, editing components, changing the block Base Point, defining block attributes, creating a multiline attribute, and editing attribute data.

Lesson 7 – DraftSight Printing – 13 minutes
DraftSight can generate prints for printers or plotters. A print can scale to accommodate the current paper size or to fit a defined window. Lesson seven covers generating print previews, importing, and applying print configurations, creating a new print configuration, carrying out a quick print, manually setting up a print, and modifying and using a print style.
Getting Started
We’re hoping to support you on your drafting journey, whether you are new to DraftSight or an occasional user. Learn how to get the most out of DraftSight and expand your familiarity and knowledge of DraftSight tools with the Getting Started with DraftSight Learning Path.
Still evaluating DraftSight? You can download a 30-day free trial and see for yourself!


