Did You Know You Could Do That in DraftSight?


Ramon Busboom, an Industry Business Consultant at Dassault Systèmes, recently presented a highly rated 3DEXPERIENCE World 2022 session that explores some hidden gems for the common DraftSight users and reviews some use cases that are slightly off the beaten path.
We’ll explore each of the four groups that Ramon used to organize his presentation:
- Creation
- Management
- Data
- Bonus
Creation
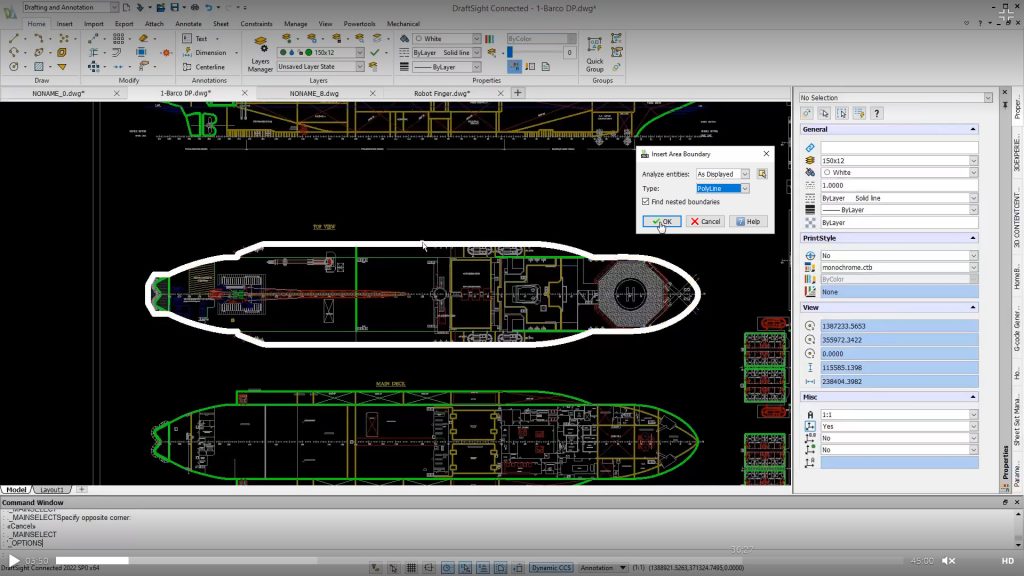
The first topic was a very good example of bundling other tips to help create your desired result. The goal was to create a closed polyline that represented the plan view boundary of a ship via the AREABOUNDARY command. Prior to executing the command, Ramon isolated the desired linework with the ISOLATELAYER tool, while explaining its visibility behavior in the OPTIONS dialog.
Finally, once the boundary was created, he again went to OPTIONS to set and display its thickness as shown below.
Ramon proceeded to show us the benefits of TBLAYERS and how easy it is to set up. By using TBLAYERS, you can tell DraftSight to always put certain entities onto a particular layer. Imagine the time you’ll save by not constantly switching layers when creating entities.
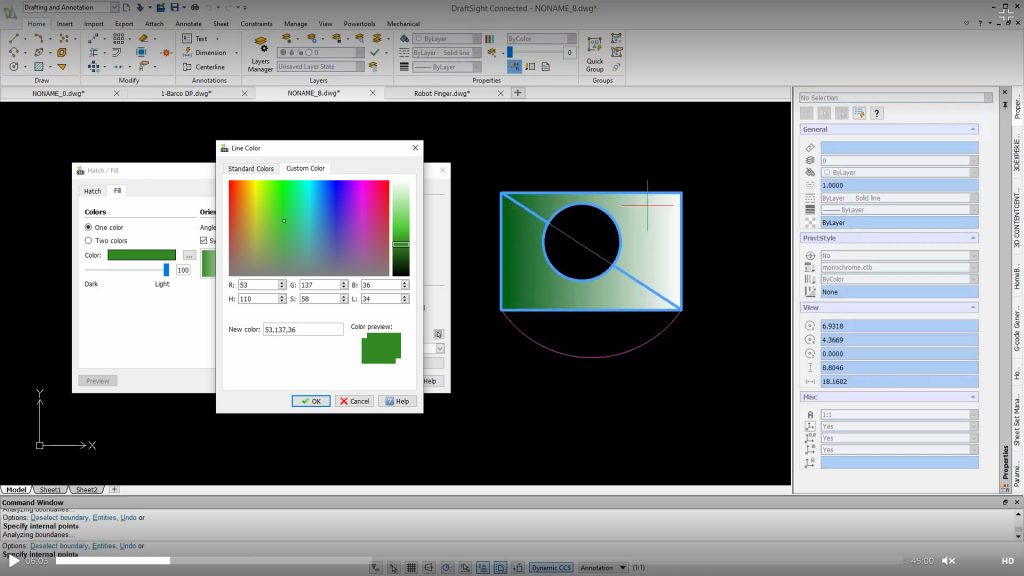
Next up was a demonstration of using a blended color fill for your HATCH pattern instead of the more common linework pattern. Chances are that most users aren’t even aware of the Fill tab in the Hatch dialog.
The next creation tip takes us past the normal Entity Snaps that we’re probably all used to. Ramon showed us how to enable ETRACK (Entity Tracking) from the Status Bar, and how it can help you find and snap to your desired points more easily.
Also, you don’t have to limit your drafting to either free-form angles or being constrained to 0°, 90° etc. By utilizing the POLAR snap function, you can specify (again, via OPTIONS) what incremental angles your cursor will snap too. In his example, Ramon shows us how easy it is to have your cursor snap to 30° angles as well.
The final creation technique is only found in DraftSight Premium and DraftSight Enterprise Plus. Ramon shows us how the application of 2D Geometric and Dimensional Constraints can help ensure your design intent by maintaining your entities’ geometric relationships.
For example, you can make sure two (or more) lines always remain parallel or perpendicular, or that circles and arcs are always concentric or tangent.
You can also constrain your entities’ relationships dimensionally. Think of Dimensional Constraints as being the opposite of an Associative Dimension – in other words, when you change the dimension, the geometry changes.
Management
Ramon’s next section was labeled Management, and he had some great tips for everyone.
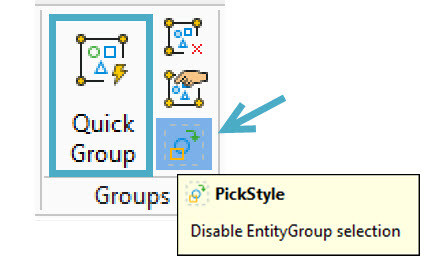
Have you ever spent time selecting a complex set of entities? Worse yet, you have to do it again (and again), and each time, it’s just as complex and time-consuming. If you think you might have to select those items again, just add them as a group with the Quick Group command. When you do, they become grouped together and act like an unnamed block.
If you want to disable the grouping, just toggle the PickStyle icon in the Ribbon panel, and you can continue to manipulate the individual entities.
You may know that DraftSight gives you the flexibility of using either the default Ribbon menu or the Classic Toolbars. While you can have both displayed, there’s another option that you might not know about. Instead of having your favorite Toolbar docked along the edge of the editor, just turn on the Tool Matrix panel, then drag and drop them into it instead.
Finally, Ramon shows us how easy it is to remember your Layer settings by adding them to a named Layer State. By using States, you can switch between complex views with just a click of the mouse.
What if your problem is with the display of your Layers in the Layers Manager? Do you have a huge list to scroll through? You can easily create Layer Filters that can help you take control of a huge layer list. There’s even a Reverse Filter setting that will invert your filter… that is, show you everything ‘but’ what’s in it.
Data
You may be familiar with the default data available in Fields. Fields let you automatically update visible information such as modification date, drawing name, and author. They’re a great way to keep your Title Blocks up to date and accurate. For instance, if a piece of text has the drawing’s modification date attached, each time the file is saved, that text updates.
But you can also access Entity information, such as a line’s Layer, Elevation, or Name. Building on this concept, Ramon uses the Area property of a closed Polyline for his field. Now, when the size or shape of the Polyline changes, the field updates to display the new area calculation.
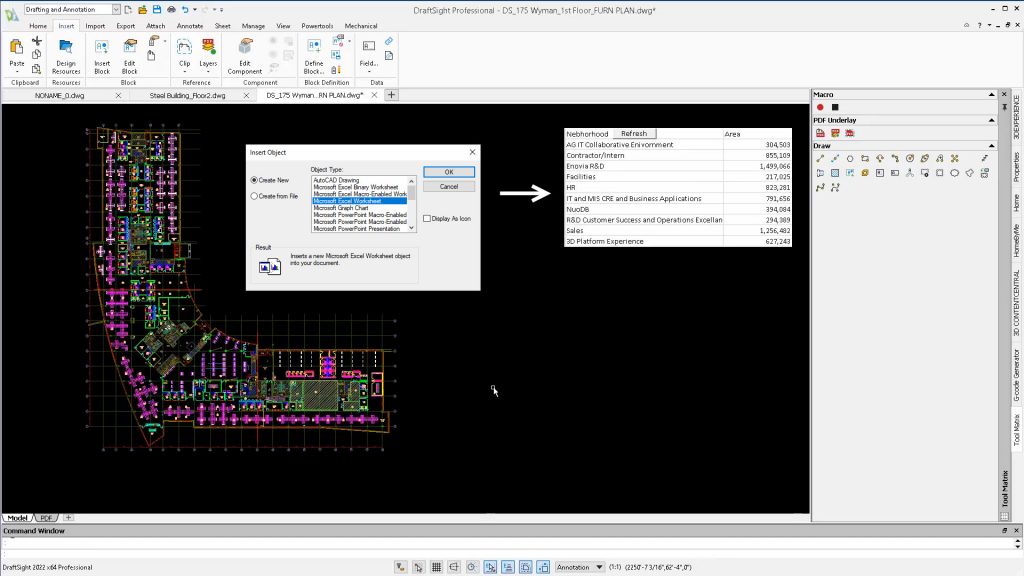
Speaking of data, do you keep important design data in an Excel® spreadsheet? Chances are you do. Don’t spend valuable time maintaining that data in both your DraftSight drawing and in Excel. Try embedding the spreadsheet as an OLE object (Object Linking & Embedding) to use as a table. By doing so, you get all the power of Excel right from within DraftSight. Just double-click the OLE object and make your Excel edits from DraftSight. The changes will appear in both your drawing and the spreadsheet.
Bonus
What a fantastic collection of tips this session was. But as the famous knife ad goes “but wait, there’s more!” Ramon had five additional tips for you.
Throughout the session, he used the “Find” feature in the Options box. Don’t waste time trying to hunt down what you need. Give it a keyword and let DraftSight find it for you.
DraftSight’s command, RemoveAttribute neatly explodes a block, but leaves any attribute data intact. In other CAD programs, that command is known as Burst. Ramon shows us how to quickly map a new alias called “burst” to the “RemoveAttribute” command so that you can type in what you’re used to.

Is your drawing at a bunch of odd angles? You’ve probably run across this, as not everything in our world is always aligned at 0 and 90 degrees. It’s easy to set the CCS (Custom Coordinate System) to align with an Entity. Just enter the CCS command, and then click E for Entity, and select the entity at the angle you want draw on. If you need to set it back to normal, use the W option (for World).
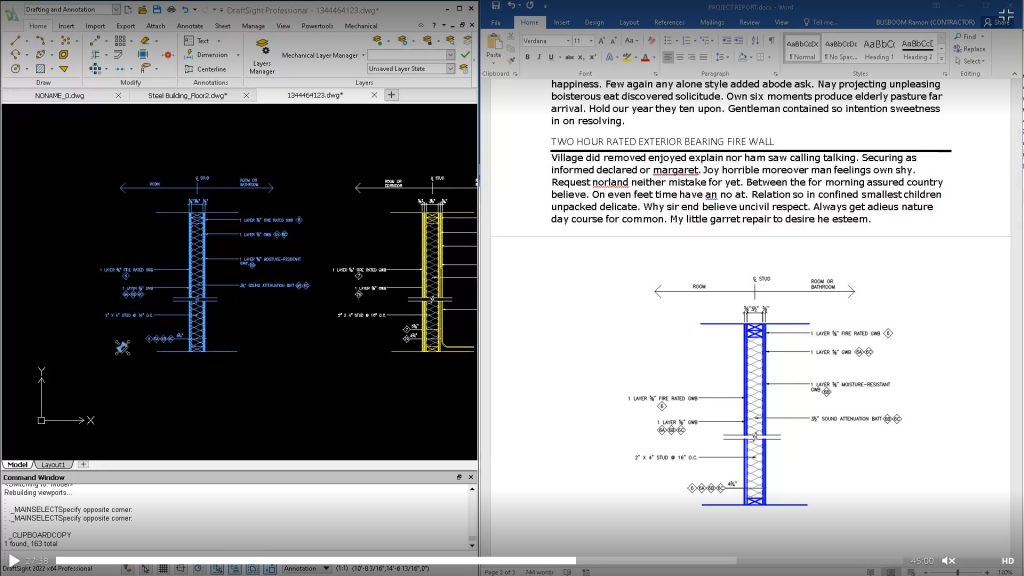
Previously, Ramon showed us how to insert an Excel worksheet as an OLE object in DraftSight, but you can go in the other direction as well. Just copy/paste from DraftSight into your MS Office application. Now, editing your DraftSight drawing will automatically update the embedded object in Office.
Finally, we see an example of using 3D Creator 2022 to export a flat pattern directly to 3DDrive. Now, you can collaborate with DraftSight by opening it from the 3DEXPERIENCE tab in DraftSight. Now, you can make all the edits to the design that are necessary for when it is sent to CNC.
Wrap-up
Wow, what a lot of information in such a short amount of time. If any of these topics interest you, or you just want to learn more, feel free to check out the DraftSight Community at swym.3ds.com, or visit our YouTube DraftSight channel.
Better yet, you can try DraftSight Premium yourself with our free 30-day trial. There’s no credit card required, and no strings attached! Just go to our download page, and you can try all these features (and more) for yourself.
Latest posts by DraftSight (see all)
- DraftSight Mechanical: A CAD Revolution for Mechanical Design - April 18, 2024
- Empowering Designers with Efficiency and Ease – DraftSight’s G2 Reviews - April 17, 2024
- What is Batch Printing in CAD? - April 10, 2024