Extend the Power of DraftSight with Customization – Part 1, Scripts

DraftSight is a bit unlike most computer programs you use, in that it’s actually intended to be customized. You may already set various interface properties or locations to your personal preference. Or you may create custom menus or set command aliases to better fit your workflow, but there’s another kind of customization available, and it’s something that can greatly extend the power of DraftSight.
You can access DraftSight’s robust Application Programming Interface (API) to create your own commands, or to automate complex or repetitive tasks. Unlike other CAD vendors, the API is available in all versions of DraftSight (Professional, Premium, Enterprise, and Enterprise Plus).
Recently, Ramon Busboom and Vince Aman presented a webinar to introduce you to the three most popular methods of customizing DraftSight. We’ll summarize each method in a three-part series, starting with today’s topic: Scripts.
Scripts
Often the first place someone starts customizing DraftSight is through scripts. A script is simply a text-based file (with the extension of .SCR) that contains the proper sequence of commands, options, coordinates, etc. that produces the desired result. If you know how to enter commands in the DraftSight Command Window, you can create scripts.
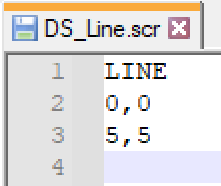
Let’s say you want to automate drawing a Line from 0,0 to 5,5. From the Command Window, that sequence would be LINE Enter 0,0 Enter 5,5 Enter Enter (to end the LINE command). That’s your script also. Each line of the file is the next entry in the sequence.

Pretty easy, right? Even though our example is rather simple, you can use scripts to automate all kinds of tasks. But if you think a bit outside the box, you can also use scripts to import a massive list of points or coordinates.

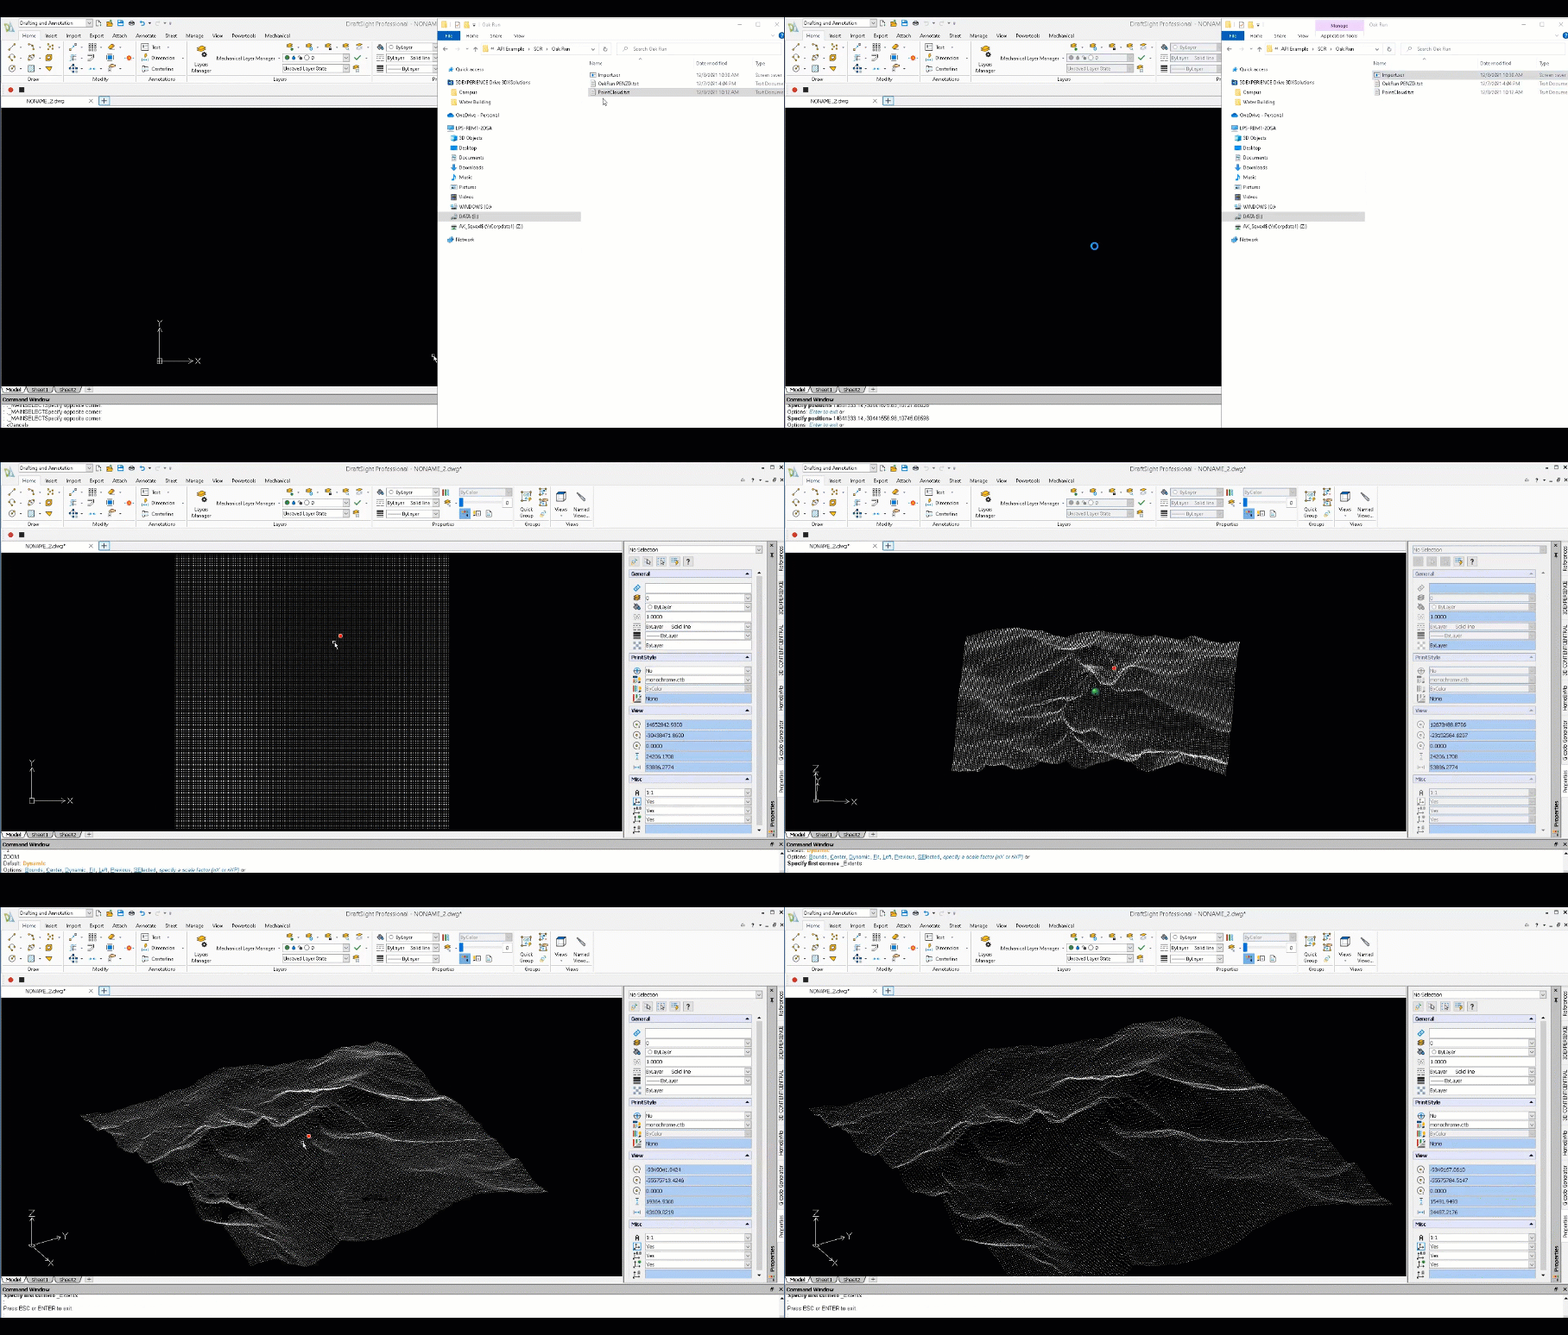
In the webinar, Ramon shows us an example of importing a massive set of coordinates that represents a point cloud. By simply inserting POINT <space> M <space> in front of the first line of coordinates, he turns a static list of over 40,000 points into a script that, when it runs in DraftSight, creates each point in a matter of seconds.

How’s that for extending the power of DraftSight? It would take you forever to enter that many points manually.
Ramon follows up this example by opening a similar file in Excel (as “space delimited”) and adding layer info and a text label to each entry. There are a few tips and tricks involved, so it really is worth your time to watch the webinar.
Things You’ll Need to Know
A few things to remember when creating scripts. First, they need to be ASCII-based, so don’t use a word processing program. Notepad® is perfect for writing scripts. Don’t forget to change the extension to SCR. A space or an end of line is the same as pressing ENTER from the Command Window. So, our previous example could be expressed on a single line as LINE 0,0 5,5.
If you need to provide a text string (such as a layer name or text style), make sure to enclose it in double quotes (e.g., “Layer Name”).
And, if you need to access a command that typically presents you with a dialog box, there’s usually an alternate version that is Command Window only. Simply put a dash in from of the command name. For example, -LAYER instead of LAYER.
If you’re unsure of the command sequence, just run it in DraftSight first from the Command Window. Pay attention to the order and options so that you can duplicate it in your script. When you’re ready to run your script, use the LOADSCRIPT command or just drag and drop it into the DraftSight editor!
Scripts. They’re easy to use, easy to create, and you don’t have to be a programmer to master them.
Next, we’ll summarize Vince’s discussion on using LISP to customize DraftSight. Until then, enjoy the webinar, and hopefully you’ll get some ideas on how to use scripts to customize DraftSight.


