DraftSight’s Custom Blocks: Visibility States


By now, you’re probably aware of DraftSight’s Custom Blocks, which were introduced in the 2022 version. We’ve written about them in various places (including this blog) from the standpoint of what they are and what they can do for you.
We’re going to take a different approach in this post. Today, we’re going to look at how you can turn a regular block into a custom block by adding one of its favorite features, a visibility state.
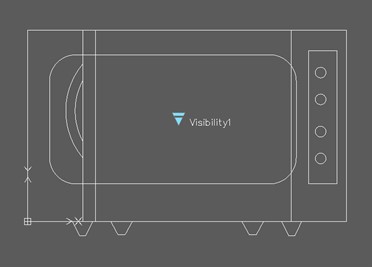
We’ll be working with a front and side view of a microwave oven. After drawing it, we turned it into a standard block. Now we want to combine the two views into a Custom Block, which will have a special grip that allows you to choose which view you want to display. Let’s get started.
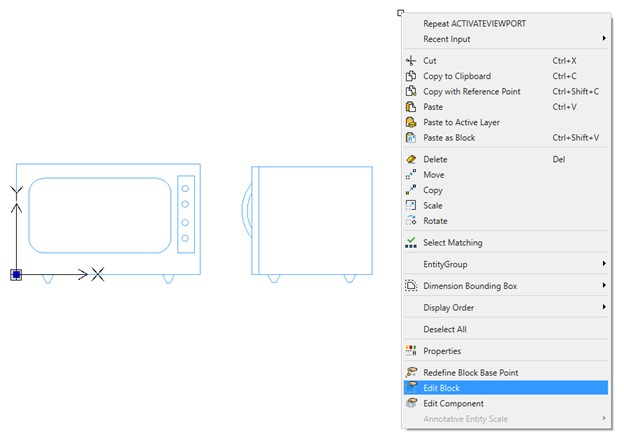
First, select the block and right-click to display the popup menu. Near the bottom, you’ll find Edit Block.
That will take you into the Block Editor. For easy identification, it has its own background color. You’ll also notice that you’ll get an extra contextual ribbon tab entitled Edit Block. All the tools you need will be found in this ribbon tab.
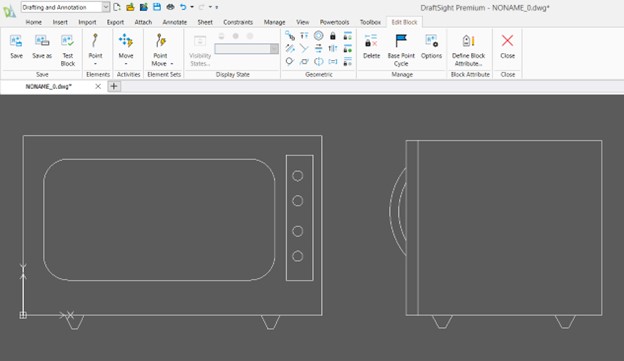
We want to work with the display states of our block. When it’s done, you’ll be able to click on the visibility icon and see it displayed as either the front or the side view. But you can see that the entire Display State panel is grayed out. The first step is to add the element we need.
All your elements are found by clicking on the pulldown tool in the element panel. There you’ll find Visibility. Click on it to add the grip. At this point, all you’re doing is defining where it will display.
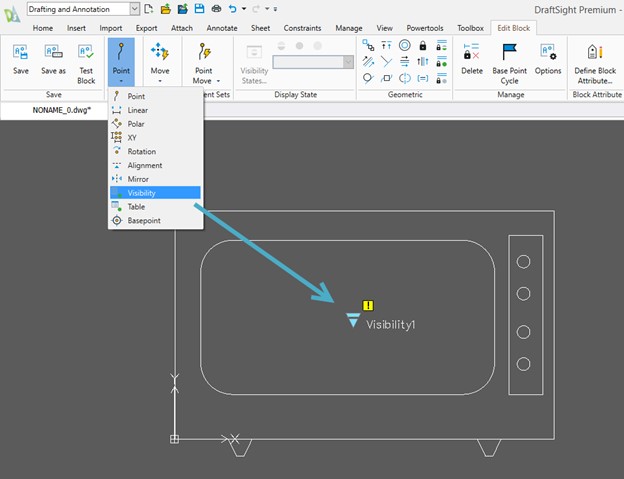
Once placed, you’ll see that it has a yellow warning icon, indicating that it hasn’t been defined yet. More importantly, the Display State panel will become activated.
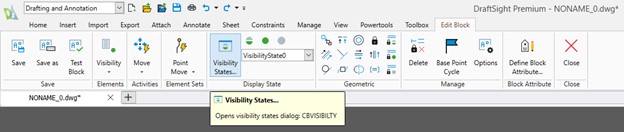
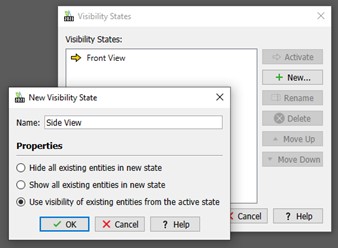
We’re going to create two states, so click on the Visibility States icon.
You’ll get the main dialog with a default state name. Use the Rename button and change the name to Front View. To make the second one, click on New. You’ll get a New State dialog, where you can define the second name of Side View. You have three options for visibility here, but I prefer to use the bottom option of leaving everything shown for now.
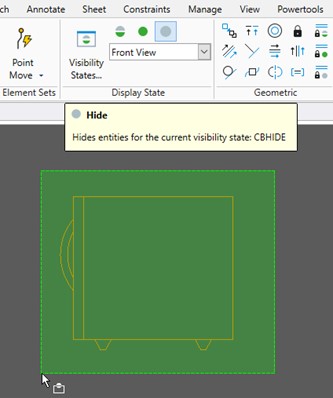
Now that our visibility states are created, we need to define what is shown in them and what isn’t. There are three controls just above the name pulldown. The first one toggles the visibility mode, the center green one lets you select entities to show, and the gray one lets you select entities to hide. Since everything is currently shown, we want to define what to hide for each state.
We’ll make sure that Front View is current in the pulldown, then click on the Hide tool. Select the entire side view.
The yellow warning icon will go away since something in the visibility element has been defined. Let’s do the same thing for the Side View. Switch to it in the pulldown and then select the entire front view to be hidden.

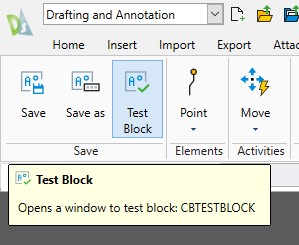
That’s it! Both visibility states have been created so you’re good to go. Or are you? You probably did everything right, but creating these custom controls can be tricky, and it’s easy to make a mistake. Fortunately, DraftSight has a Test Block tool for you. It’s right next to the Save and Save As tools on the left side of the ribbon.
Click on it to switch your interface into a test mode. You’ll get the normal ribbon tools, and your block will be shown, in this case, with both display states shown. Click on the block, and you’ll see your visibility icon. Click it to expose the drop-down menu of display options. Click on each to test it. When you’re done, click on the Close icon on the right of the ribbon.
In our case, the visibility is defined correctly so we’re good to go. Almost. For the ease of selecting the entities, I kept the side view off to the side. We want the custom block to change its display, but stay in the same insertion point, so I’ll just move the side view over to be on top of the front view, matching the bottom line’s midpoint.
Summing Up
That was pretty easy, wasn’t it? There are various ways to achieve the same results, but I prefer to have all my views separated, leave everything on, and then define what gets hidden for each display state. You may find your own workflow.
Defining visibility states is one of the easier controls to create in a Custom Block. Each control has its similarities and differences. Keep an eye out on our blog as we’ll continue to show you how to create a few other popular controls.
Maybe you’d like to give it a try for yourself. Just go here to download a free, 30-day trial of DraftSight Premium and give it a go.
Latest posts by DraftSight (see all)
- Landscape Architecture: Create a Planting Plan in DraftSight - July 9, 2025
- From Napkin Sketch to Shop Floor: Why Knapheide Embraces DraftSight - July 2, 2025
- Summertime CAD Project Ideas - June 30, 2025