The Beginner’s Guide to Customizing the DraftSight Interface


When you first open DraftSight, the interface can feel like someone else’s workshop. All features are present; however, the interface may not be organized based on your preferences. That’s where customization comes in. Whether you’re aiming to streamline your most frequently used commands or build a setup that reflects your workflow, tailoring the interface can make your drafting process more efficient.
The default layout works well for most users. As you use the software, you start to notice patterns: menus you rarely use, tools you access frequently, and commands you’d prefer to activate with a shortcut. With a little time invested in customizing your workspace, you can shape DraftSight into a more focused environment that suits your workflow.
Here are some ways to begin.
Start With Workspaces
DraftSight includes preset workspaces for different tasks, but you’re not limited to those.
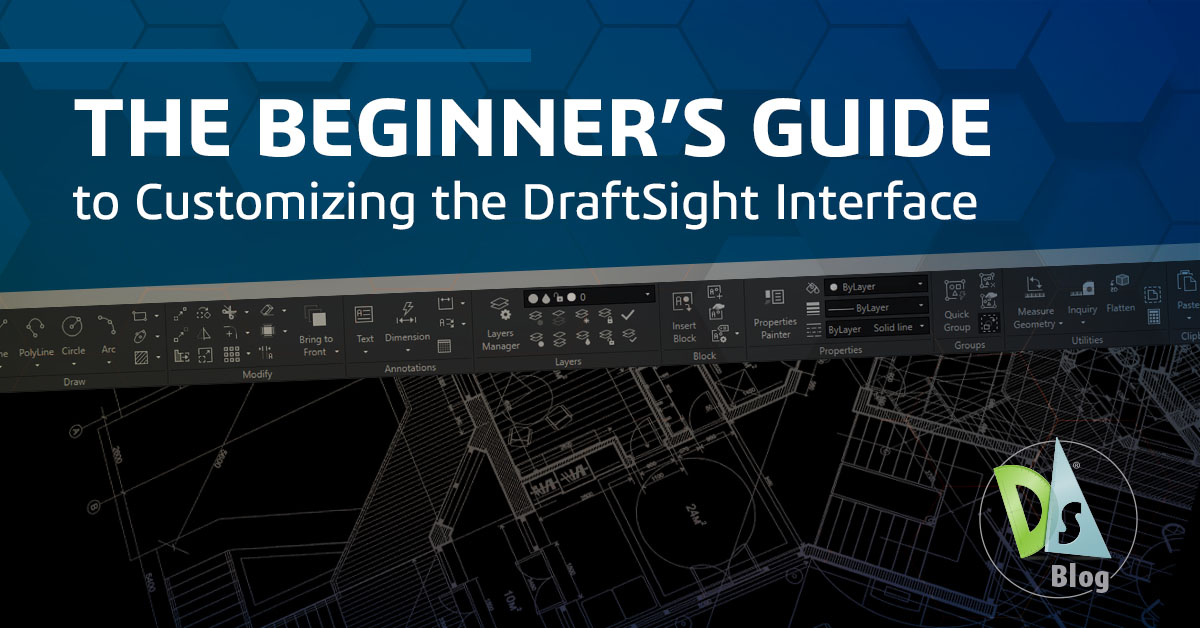
You can create your customized workspace from scratch by right-clicking in the interface and selecting Customize Interface. From there, you can add ribbons, toolbars, menus, and even elements like the Quick Access Toolbar. You can drag and drop items from the explorer onto your custom workspace and rearrange them as needed.
Once everything is where you want it, click Apply and then OK. Your workspace will be set up according to your preferences and ready for use. You can update it anytime. Add new tools, remove unused ones, or tweak the layout as your preferences change.
Adjusting Display and UI Settings
DraftSight gives you a range of visual settings that can help reduce eye strain or bring focus to specific drawing elements. You’ll find these under Options, which you can access quickly by typing OPTIONS in the command line.
From there, you can:
- Switch between dark and light themes
- Change cursor and crosshair colors
- Adjust the background color of the model and sheet areas
- Modify the font and size used in the command window
You can even search within the Options dialog using keywords like “element colors” or “command window” to jump directly to the setting you need.
Creating Custom Toolbars and Tabs
If you like toolbars, ribbons, or a mix of both, use the Customize Interface dialog. It’s also where you can create your own ribbon tabs and panels.
Let’s say you want quick access to your most-used commands. You can:
- Create a new custom tab
- Add a custom panel inside that tab
- Drag commands from the command list into your new panel
It’s also possible to set up macros here, short strings of commands bundled together, that can speed up repetitive tasks.
Assigning Keyboard Shortcuts
If you prefer using keyboard shortcuts to complete tasks more efficiently, you can set up or modify them under Options > User Preferences > Aliases.
DraftSight already comes with many familiar shortcuts, especially if you’re coming from another 2D CAD system. But if you want to create your own:
- Find the command you want to assign a shortcut to
- Add a new alias (e.g., MLL for MULTILEADER)
- Apply and save your changes
You can also export and import these shortcuts, which makes it easy to use the same setup across different machines.
Automating with LISP (Optional for Beginners)
While it’s not something every beginner will jump into right away, DraftSight supports LISP routines for automation. These small text-based programs can help with everything from creating layers to cleaning up duplicate objects.
If you’re interested, it’s easy to start with simple scripts. LISP is a widely used programming language in the CAD industry, and numerous resources and examples are available online.
Learn more:
Customization is An Ongoing Process
The interface can be adjusted by setting up a workspace, modifying settings, and adding shortcuts as needed. And as your comfort with the software grows, so will the value of having an interface that feels familiar and efficient. By organizing your tools around the way you draft, you can remove distractions and reduce the time spent hunting through menus.
Try DraftSight for Free
Take advantage of DraftSight’s free 30-day trial and discover how DraftSight (and your customizations) can improve your design process.
Latest posts by DraftSight (see all)
- When DraftSight Needs a Fresh Start: How to Reset to Default Settings - February 4, 2026
- DraftSight Migration Guide Blog - February 2, 2026
- DWG Rescue: Bringing Problem DWG Files Back into Working Order - December 12, 2025