Creating a Snowflake in DraftSight


Considering the time of year it is, I thought we should have a seasonal blog. Today we’re going to draw a snowflake in DraftSight.
To the experienced CAD user, this will seem a very simple affair, but for users with less experience, or perhaps users who would like to teach their children some CAD, this will be a nice and simple introduction to DraftSight.
Because a snowflake has 6 identical sides, there is no need to draw each side individually. We will create one side and use the Pattern command to create the others.
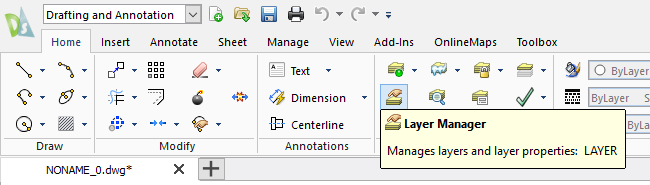
So, the first step is to create some layers. Open the Layer Manager.
Next, create 3 new Layers. I’ll call mine Construction, Snowflake and Text. Give them whatever colours you would like.
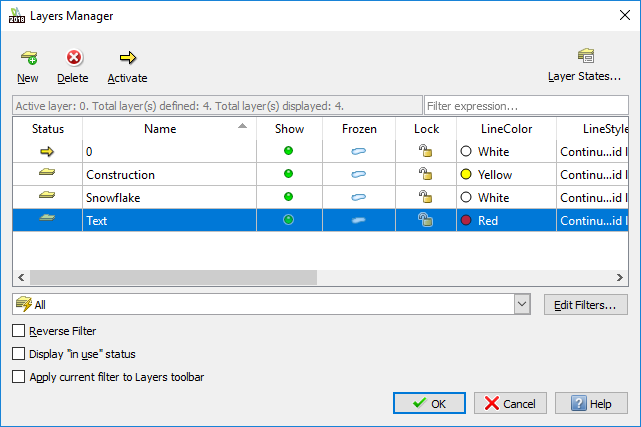
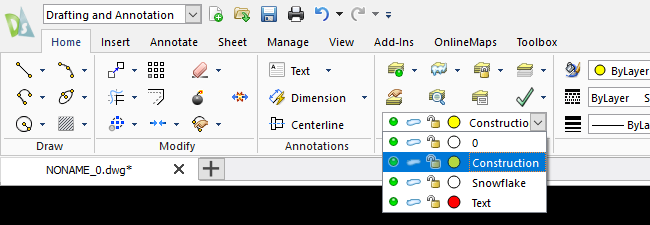
Set your Active Layer to Construction.
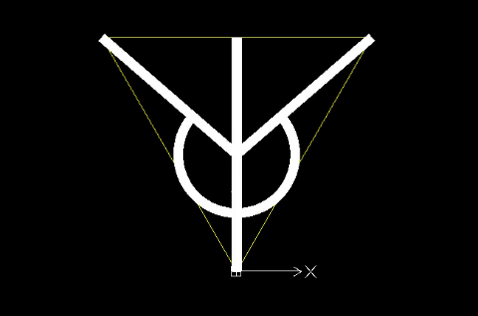
Now it is time to start drawing! So, at the Command Prompt, type Polyline. When you are asked to Specify Start Point, enter 0,0 You will then you’ll be asked to Specify Next Point, type @150<60 (that will create a line 150 mm long at an angle of 60 degrees), then 150<180 and finally CL to close. You now have a triangle on your screen. Now you get to be creative!
Set your Active Layer to Snowflake and start drawing your snowflake. We are not going for hyper-realism here, so you can design it however you like. In my example, I used a mix of Polylines, Circles (trimmed) and a Hatch.
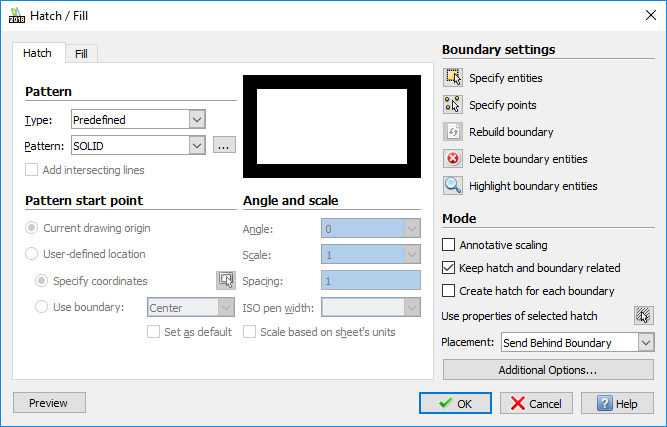
When using the Hatch command, I selected the Solid hatch and then clicked on Specify Points. You can see the results in the image below.
The next step is to use the Pattern command. So, from the menu bar, select Pattern.
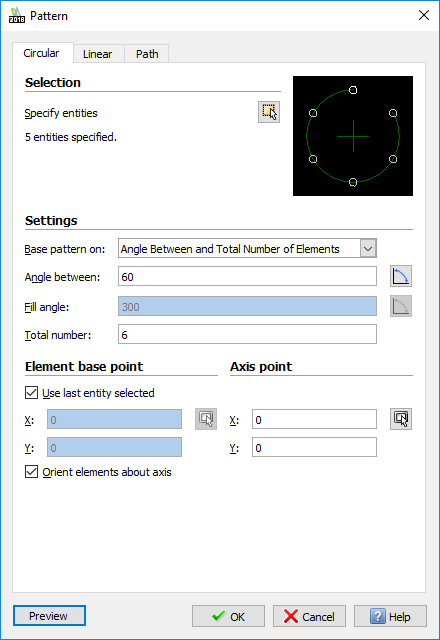
Select the Circular tab click on Specify Entities. Select your snowflake design, ignore everything on the Construction layer.
Set the Angle Between to be 60 and set the Total Number to be 6. You can leave the Axis Point at 0,0 as that’s where we started our drawing.
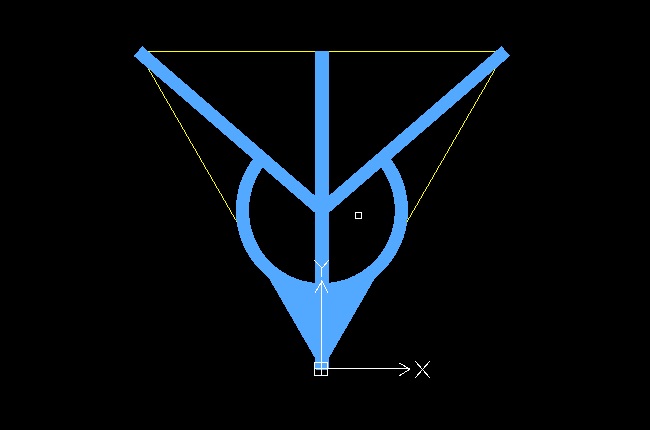
Click on OK to create the Pattern. Once completed, just use the Erase command to remove the Polyline on the Construction layer. You can see my spectacular snowflake below.

The last step to our drawing is to add some text. Set your Active Layer to Text and then choose the Text command from the Menu.
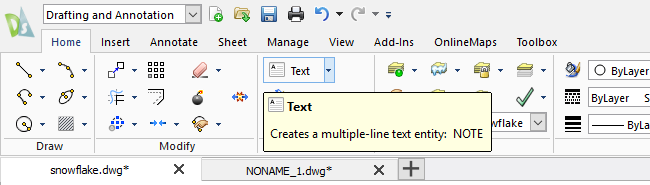
Next you select your text location. Then enter in your Text, select the Font you want to use and the Size you want the text to be. You can see my settings in the image below.

Once you are happy, click on the Green Tick (create note) and your text will appear.
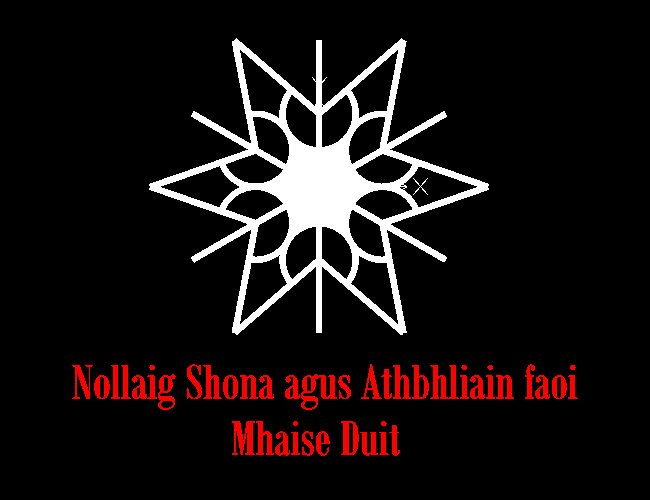
So, there you have my attempt at a snowflake. It’s not all that pretty, but I have never claimed to be an artist! You may be wondering what that text means. Well, as you may know (if you read our Halloween blog), I’m Irish, so I used a traditional Irish festive greeting “Nollaig Shona agus Athbhliain faoi Mhaise Duit” which means “Happy Christmas and a Prosperous New Year To You”.
Learn more about DraftSight 2018 here.
Purchase DraftSight Professional 2018 for as low as $99 here.
Latest posts by MJ Smyth (see all)
- Resetting DraftSight to Default Settings - April 12, 2021
- Associative Patterns in DraftSight 2021 - March 24, 2021
- DraftSight 2021 SP0 Now Available - March 3, 2021