Printing in DraftSight
Printing a drawing to scale in DraftSight can sometimes confuse new users. So, over the course of the next few blogs, we are going to do our best to simplify the whole process for you.
DraftSight has two distinct working spaces, Model Space and Sheet Space. Model Space is where you draw your design, plans, sketch… You generally draw at a scale of 1:1 also. Sheet Space is where you lay out your drawing, insert your title block, create viewports, add notes and legends.
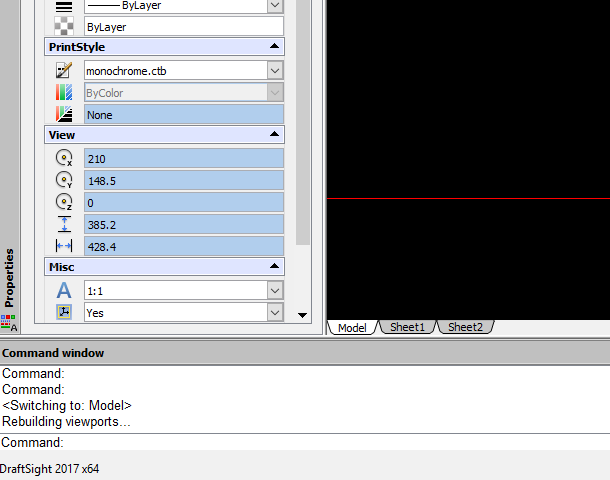
In todays blog, we are going to look at setting up your sheet size in your DraftSight Drawing. To do this, first right-click on the Sheet Tab and click on Print Configuration Manager.
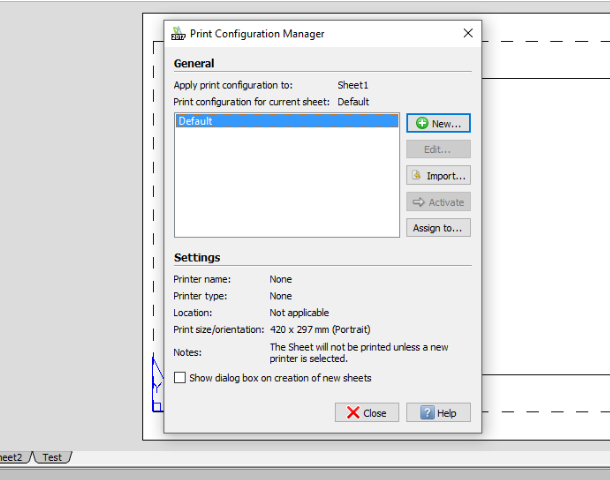
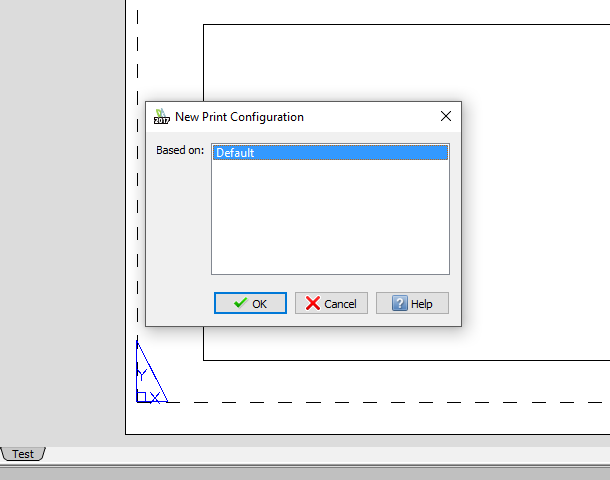
Next, click on New and then click on OK.
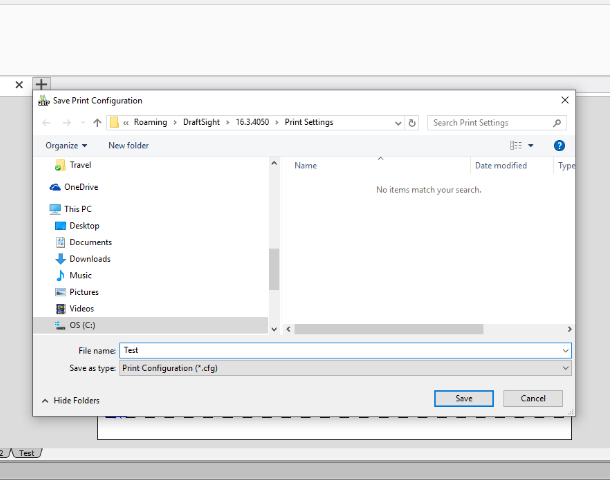
In the file specification dialog box, type a file name for the new print configuration and click save. In our example, we’ve called it Test.cfg
The Print Configuration dialog box will then load. From here, you can set the printer you want to use, you can select a paper size for your sheet, specify print scale of the sheet, select the print range and other additional options.
In our example, we have selected to print to the PDF printer on an ISO A1 sheet at a Scale of 1:1. We also specified the area we wanted to print and told DraftSight to Print on center of paper
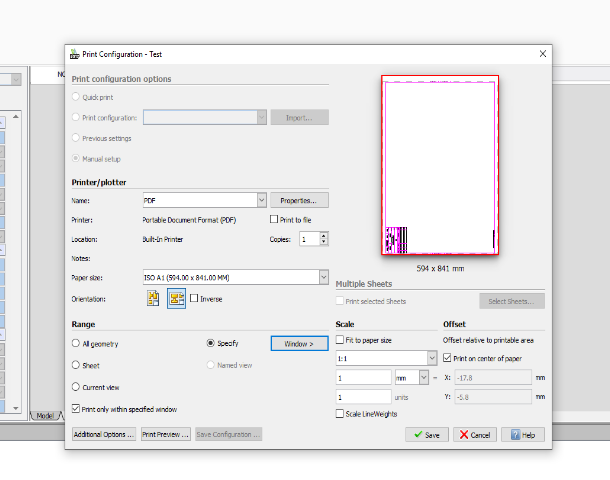
Once you are satisfied with your sheet settings, click on save and then click on close. To activate and use the new sheet style on any sheet in your drawing, right click on your selected sheet and click on Print Configuration Manager. Next, select your sheet configuration and finally, click on activate.
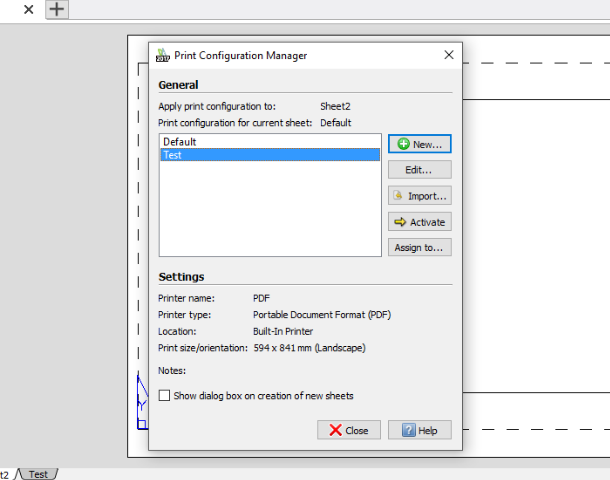
Your sheet configuration is now assigned to your selected sheet.
And that is how, in a few easy steps, you set up a Sheet Configuration within DraftSight. Over the next few blogs, we will cover more aspects of printing in DraftSight, such as printing to scale, setting up viewports and setting scales within viewports.
Learn more about DraftSight and how to start a free 30-day trial here.


