DraftSight Markup Tools
Following on from our last blog on the Utility Tools in DraftSight, today we are going to talk about the Markup Tools in DraftSight 2018.
The Markup Tools can be found in the Annotate Tab of the DraftSight 2018 menu.
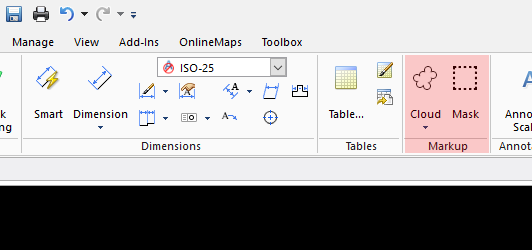
The first Markup Tool we are going to talk about is the Cloud Tool. Basically, this tool allows you create Revision Clouds in your drawings. I call them revision clouds, but you can use them for what ever purpose you require!
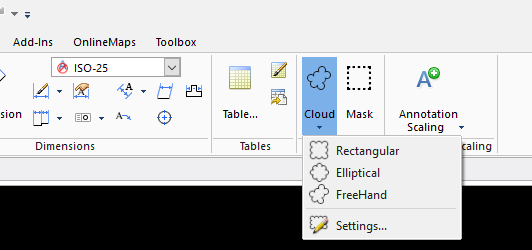
If you click on the Cloud icon, a drop down menu appears with 4 options. They are Rectangular, Elliptical, Freehand and Settings.
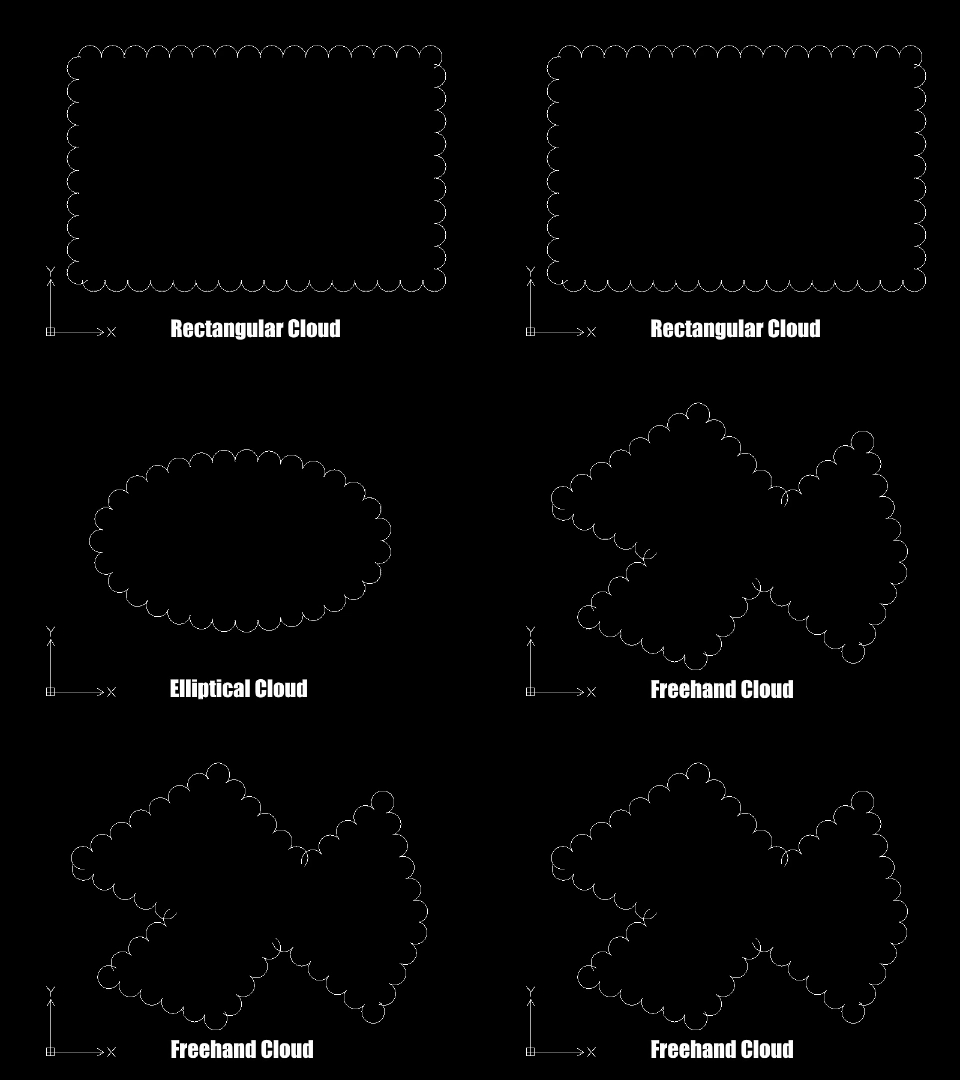
They are pretty self explanatory, but I’ll explain them anyway. Rectangular lets you draw a rectangle around an area of your drawing and creates a rectangle shaped cloud. Elliptical lets you draw an ellipse and then creates a cloud based on the shape of the ellipse. Freehand, well with freehand you just keep picking points until you are happy, type CL to close the shape and you end up with a cloud based on that shape.
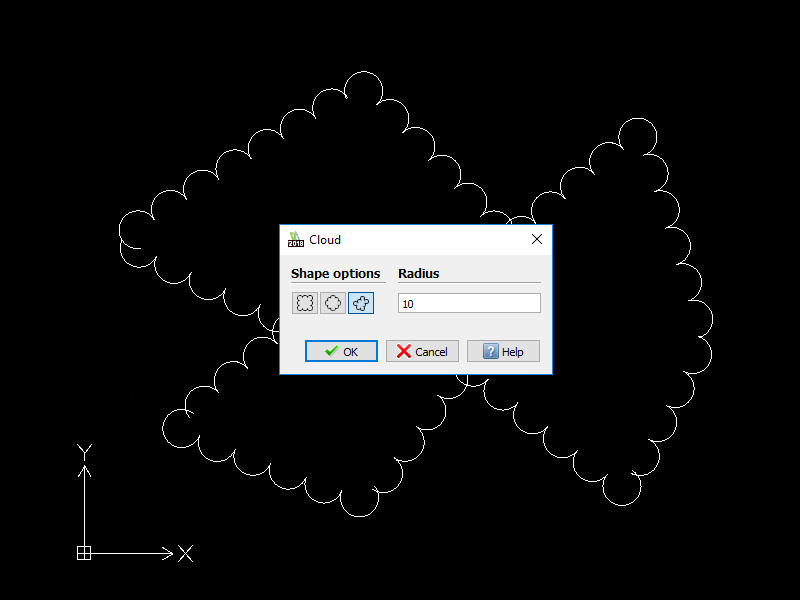
If you click on Settings, it allows you to pick the radius for the Arcs in the cloud.
Well, I think that covers the Cloud Tool in DraftSight 2018. Next up is the Mask Tool. This tool is also found in the Annotate Tab of the DraftSight 2018 menu.
So, just what does the Mask Tool do? It actually does exactly what the name suggests, it masks an area of a drawing. The DraftSight help file describes the command like this:
“The Mask command allows you to draw a polygonal shape or select an existing polygon to mask underlying entities. After you place the polygon over a section of the drawing, you can add entities on top of the polygon.”
So, how do you use the Mask command? Well, just click on Mask on the toolbar. You’ll notice in the Command Prompt area you now have three options. They are Frames, Polyline or Specify Start Point.
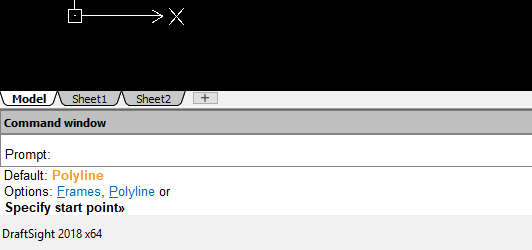
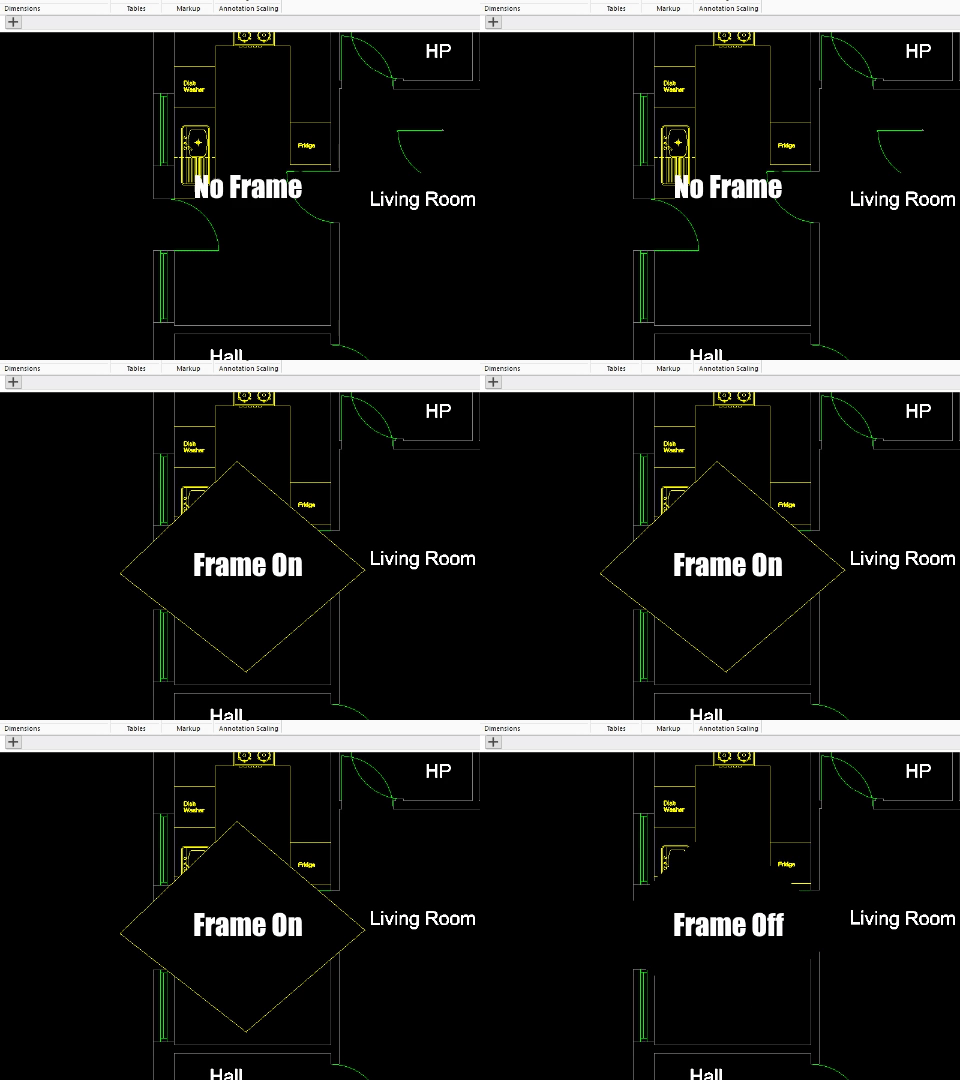
When you create a Mask, it has a Frame. This Frame can either be turned On or Off. The Frame option allows you to select this setting by selecting Yes for on and No for off.
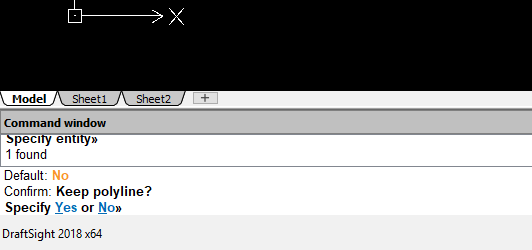
The second option you see is Polyline. This allows you select any existing closed polyline and use it as a Mask. If you select this option, you will be asked if you’d like to keep the Polyline. This is a personal preference, but I always select No, but the choice is yours!
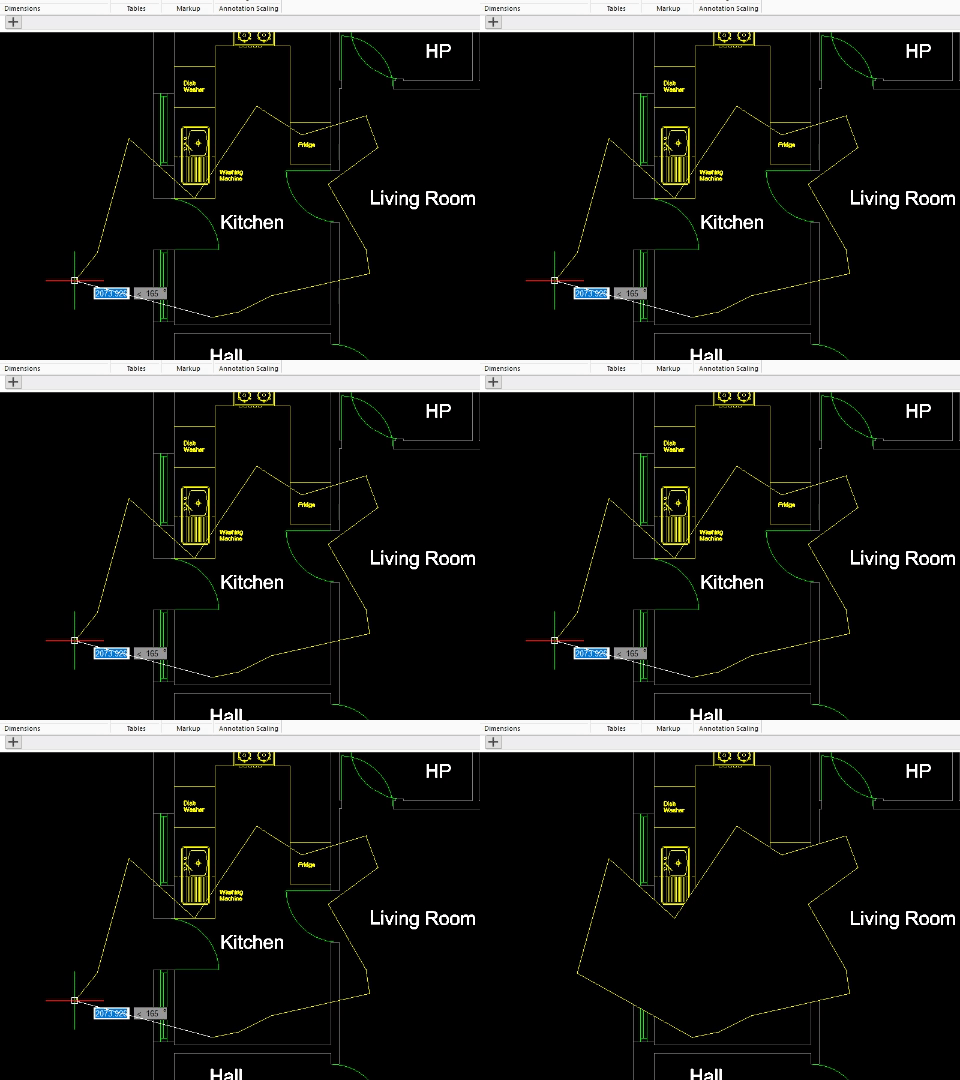
The default option when you start the Mask Command is Specify Start Point. This allows you to create irregular shaped Masks in your drawing. Just keep clicking points until you are happy.
And that’s the Mask command in a nutshell. Like all the tools in DraftSight 2018, it’s simple to use. Stay tuned for more tips and tricks next week!
Learn more about DraftSight 2018 here.
Purchase DraftSight Professional 2018 for as low as $149 here.


