DraftSight 2020 Custom Alias Commands
In last weeks blog I demonstrated how you can customize the Crosshairs and Cursors in DraftSight, along with the Command Window. In today’s blog, I’m going to show you how to customize commands to suit your own needs.
I’ve said it here before, I’m pretty old-school when it comes to CAD. I like to use the Command Window to enter most of my commands. It’s how I started many years ago mainly because Microsoft Windows wasn’t around, which meant we didn’t have toolbars! Over the years, I just never changed.
So, where do we start? Well, you will be glad to know that customization is nice and easy. First we need to go to Options, then User Preferences, and finally Aliases. You’ll see a list of Aliases appear on screen.
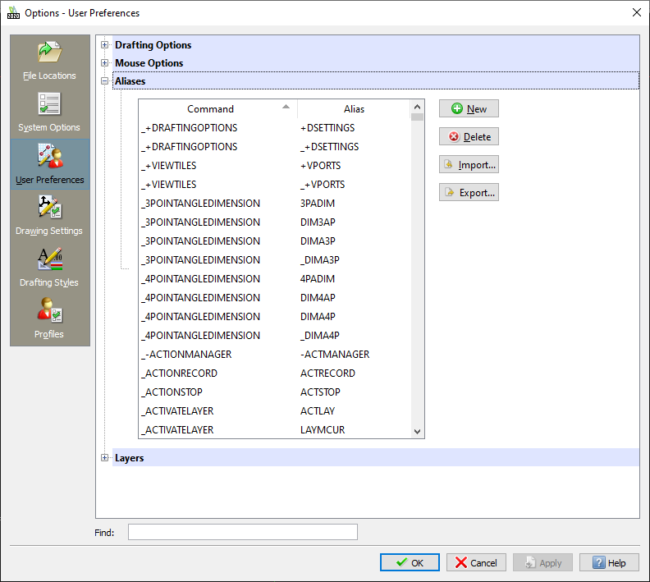
I like to use ‘Two Fingered Commands’. That means each command I enter uses a maximum of two characters. So, for example, the command Zoom Fit, is shortened to ZE. For Zoom Dymanic, I use ZD and for Parallel, I use the alias OF. There are many more all embedded in my head from years of use, but I’ll just stick to those three for now!
To make the Alias, scroll down until you find the Command. Scroll until you find the Zoom Fit command, double click on the Alias and change it to suit your needs. In my case, I’ll change it to ZE.
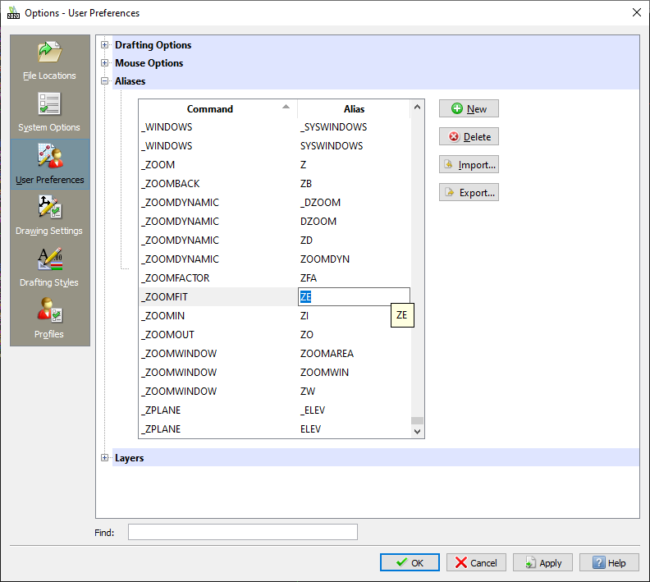
Once you are happy, click on Apply and then Close. That is how to simply and easily customize your commands in DraftSight. Note that if you accidentally give two Commands the same Alias, then neither of them will work.
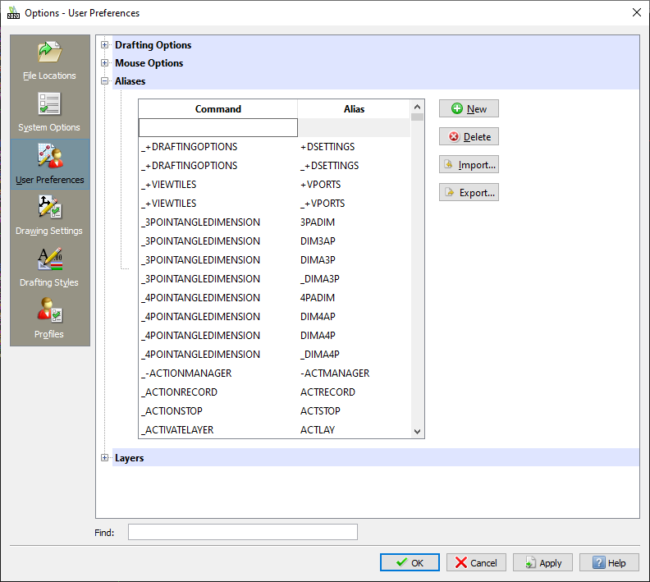
If you would like to create a new Alias rather than change an existing one (this leaves the default aliases in place), you can click on New and then enter the name of the Command and it’s Alias.
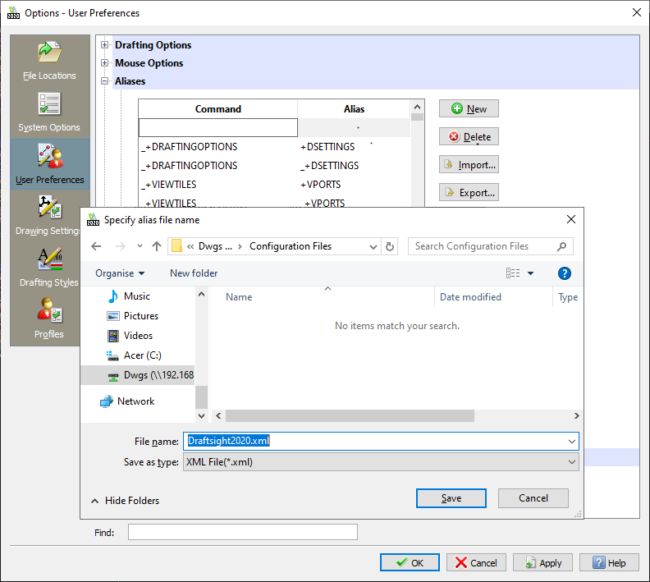
Once you have configured your Alias to suit your needs, you can copy it to other DraftSight workstations. To do this, click on Export and then select where you would like to save your file. I’ve selected a network folder accessible by all workstations.
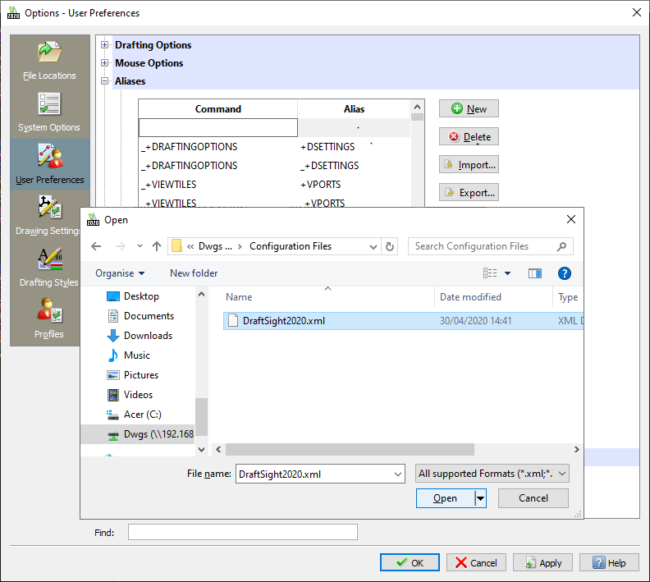
To import the custom Alias onto another DraftSight workstation, we go to Options, then User Preferences and finally Aliases and select Import. Then we head to the network share, select the file, and click Open. The updated Alias definitions will then be imported.
That is how to configure DraftSight and use Aliases for your favorite commands. As I said at the start, it’s nice and easy – you don’t even have to stick to just characters.
In a future blog, I’ll talk about using LISP to customize other commands, so stay tuned for that!
Learn more about DraftSight here.


