Landscape Architecture How-To: Helpful Tools to Know in DraftSight for Layout & Material Plans


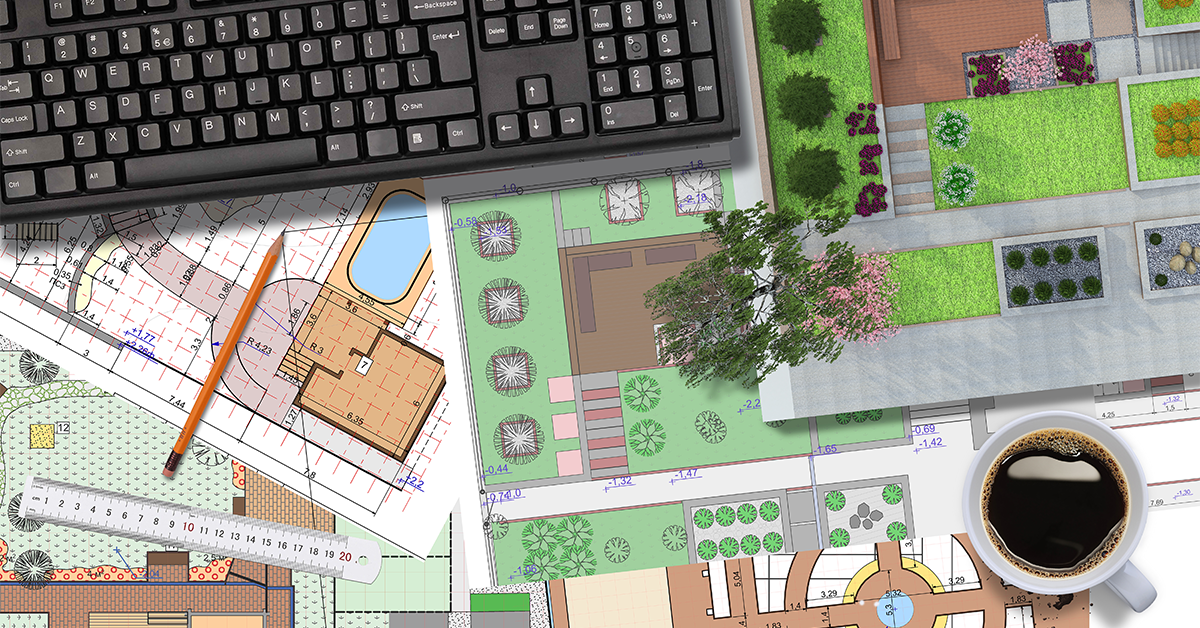
It is critical for contractors to be able to look at Landscape Architect’s plans and know exactly how to build what has been drawn. Landscape Architects and Designers need to know all of the tools that are necessary to produce high-quality drawings.
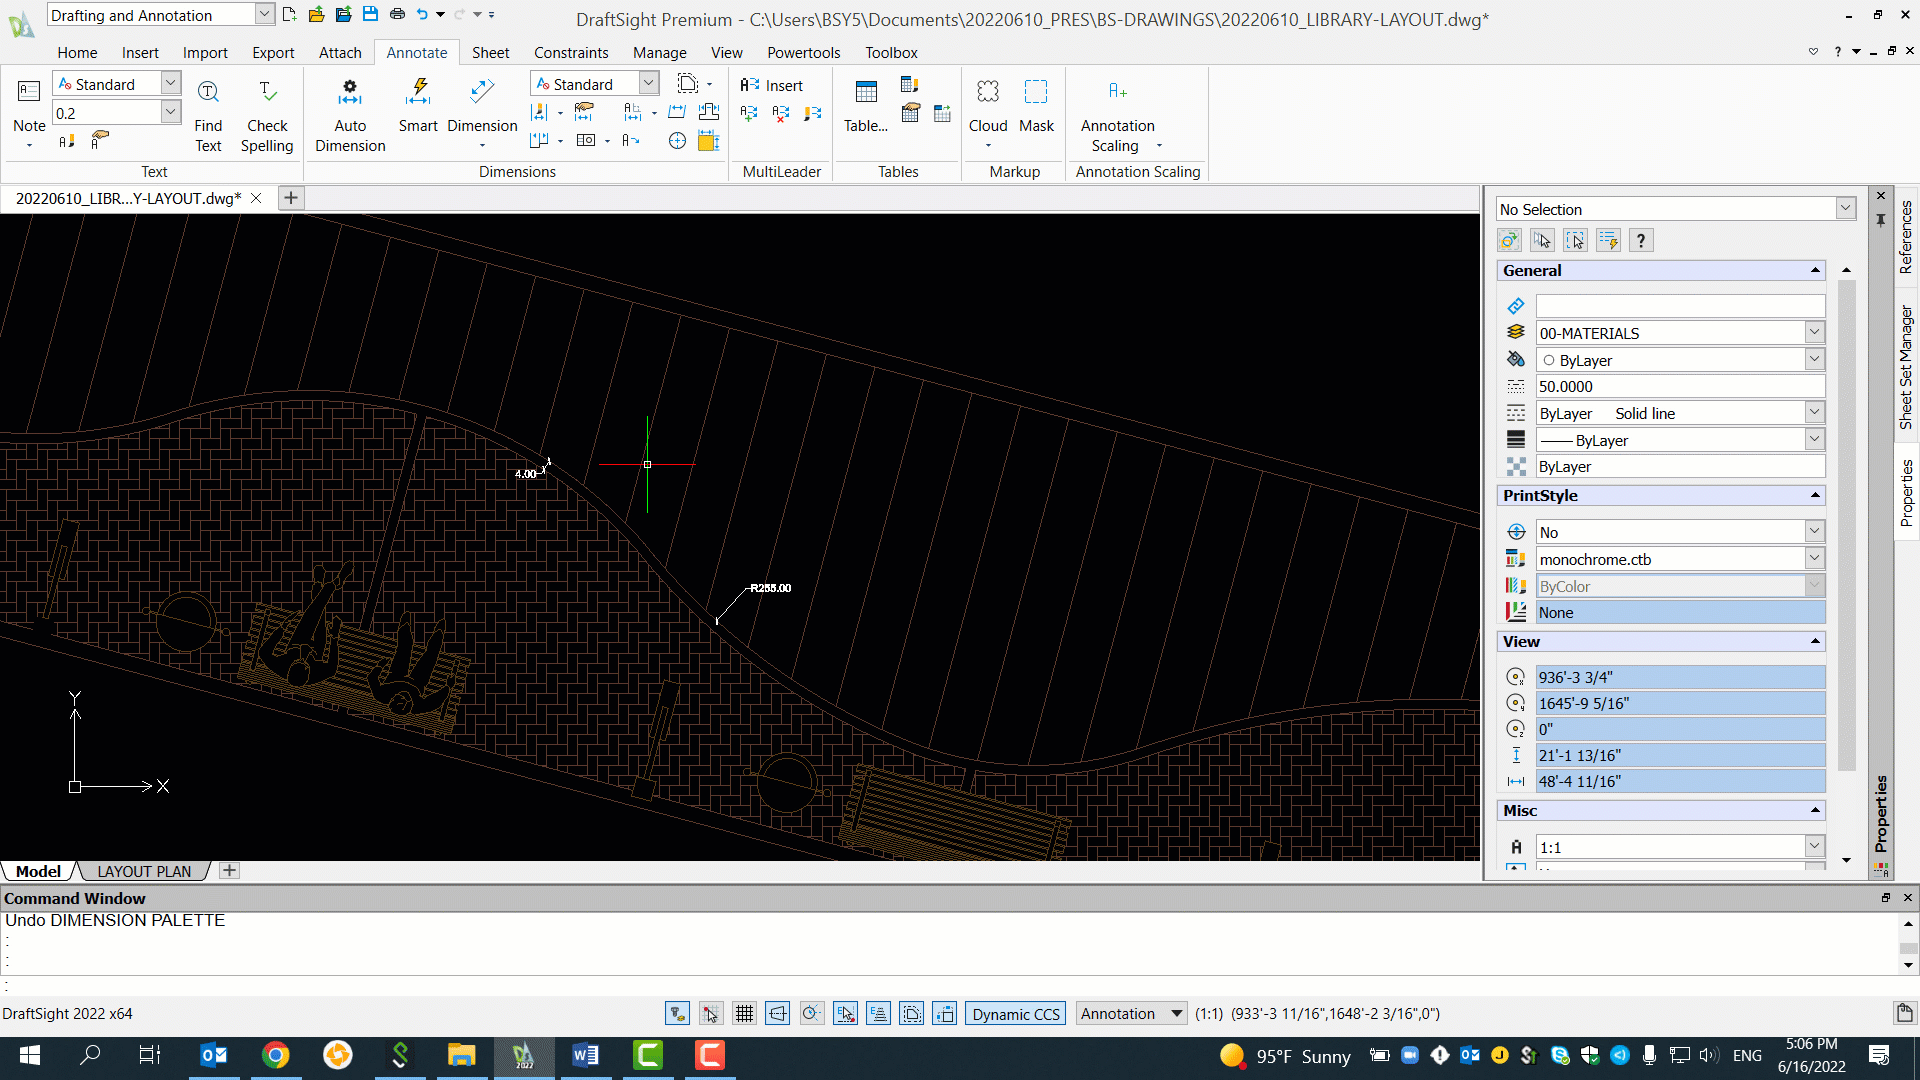
Dimensioning
Let’s look at how to put dimensions in a drawing in DraftSight.
- Under the ANNOTATE tab, in the DIMENSIONS section, click on the DIMENSION dropdown and select the desired dimension type.
- Click on the drawing where you want to place a dimension, and follow the prompts in the bottom-left to complete the dimension.
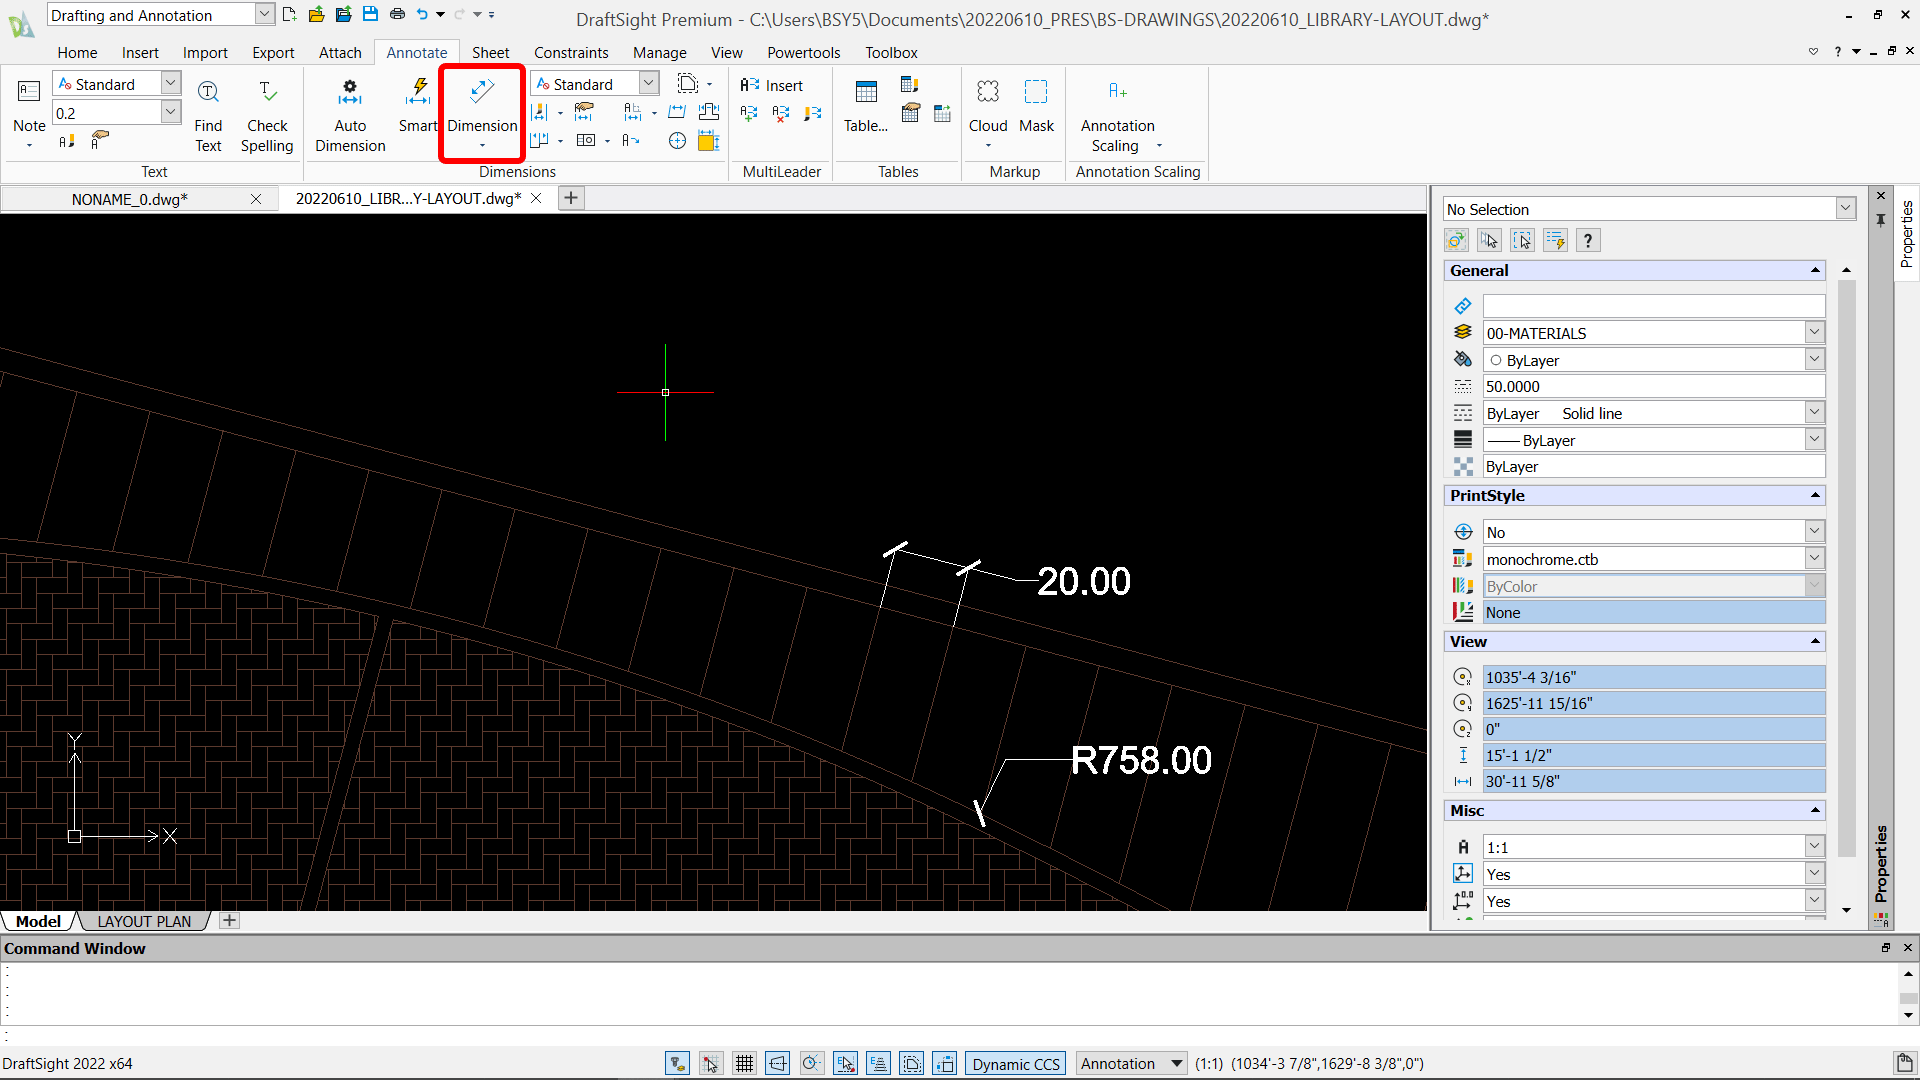
Dimension Types:
Parallel: Creates an aligned linear dimension.
Linear: Creates horizontal, vertical, and rotated linear dimensions.
Angular: Dimensions the angles in a drawing.
Diameter: Creates diameter dimensions for circles and arcs.
Radius: Creates radial dimensions for circles and arcs.
Jogged: Creates jogged radius dimensions for circles and arcs.
Arc Length: Creates an arc length dimension. It measures the distance along an arc or arc segment of a polyline.
Ordinate: Creates ordinate point dimensions.
For more details on creating and modifying dimensions, check out: https://help.solidworks.com/2022/english/DraftSight/html/chapter_dimension.htm
Auto Dimensioning
Let’s look at an example of how to quickly dimension something on a plan. By using the AUTO DIMENSION tool, dimensions are produced instantly.
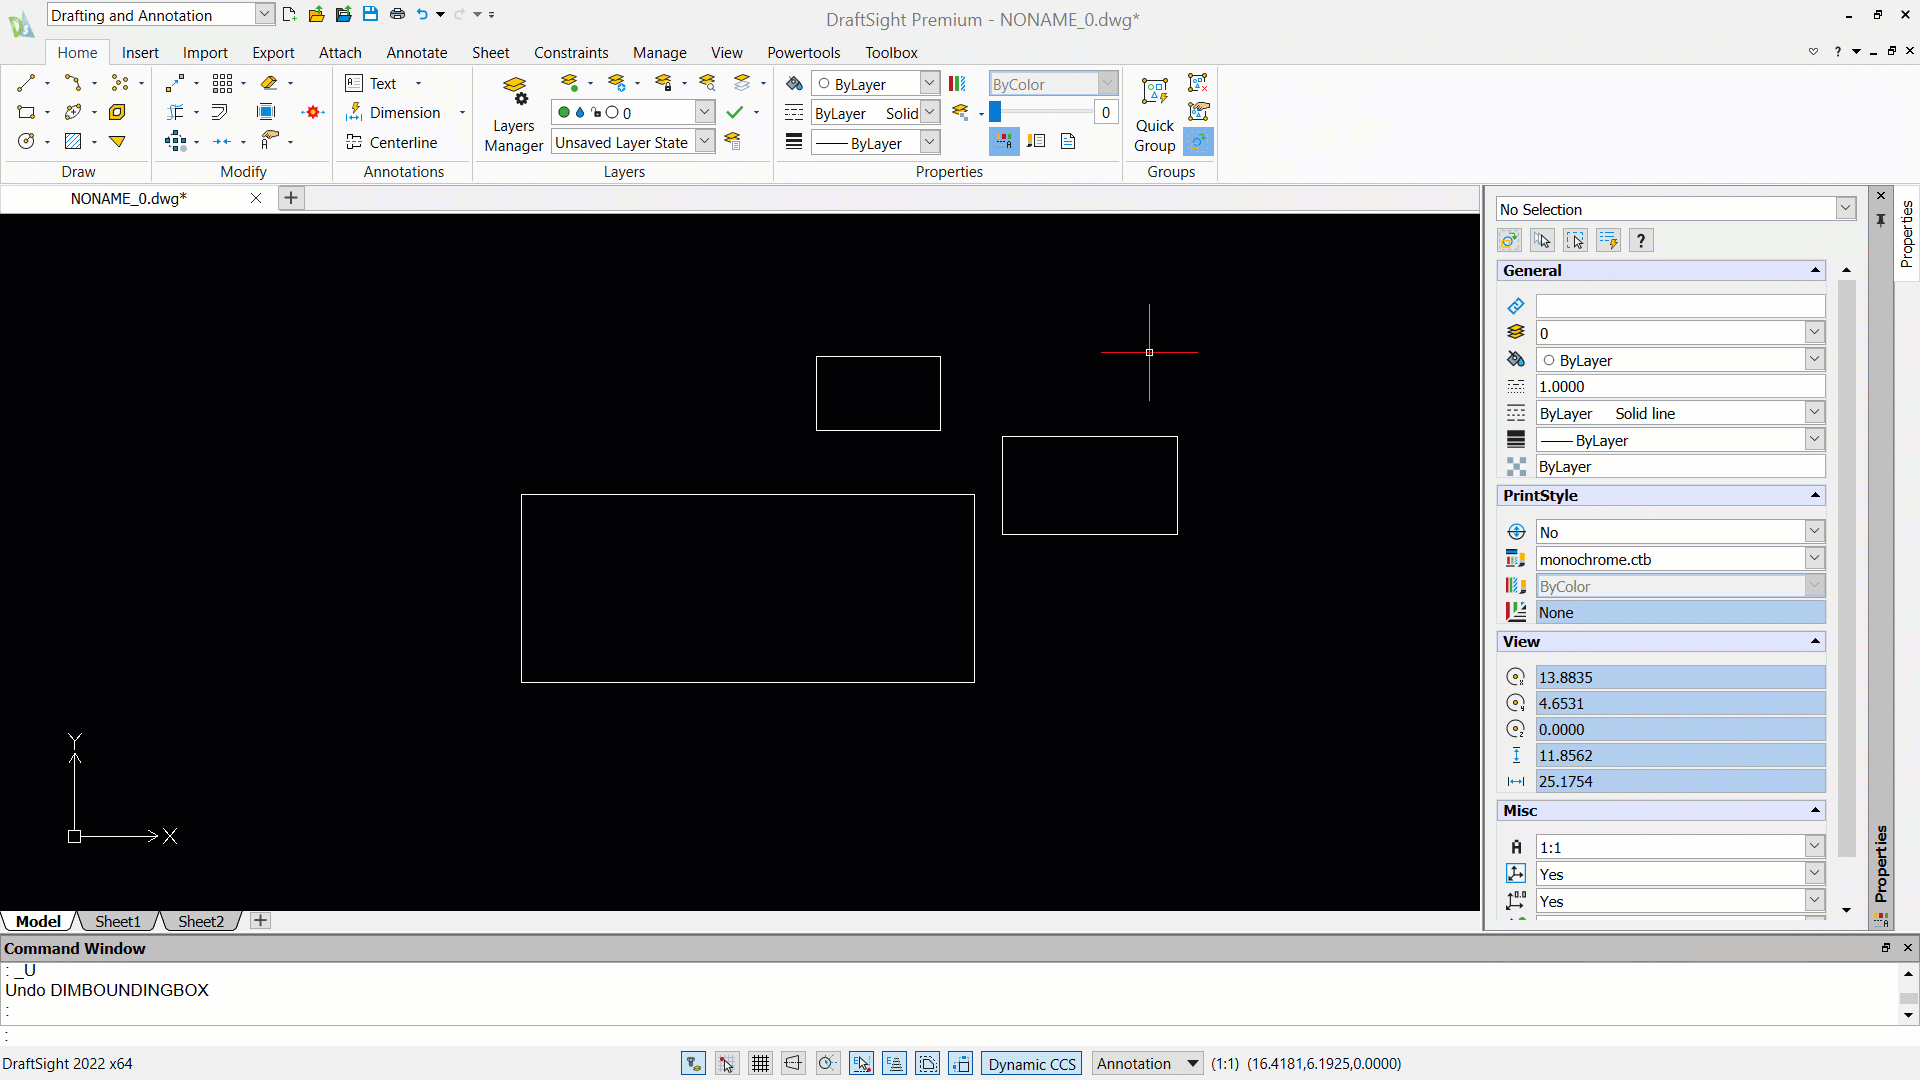
- First, create a DIMENSION BOUNDING BOX around the perimeter of the desired contents to be dimensioned. This can be done by going under the ANNOTATE tab, in the DIMENSIONS section, and clicking on CREATE.
- Next, click on the desired contents to be dimensioned. Hit enter and a dotted line should appear around the contents.
- Next, in the DIMENSIONS section at the top, click on AUTO DIMENSION, and a dialog box will pop up on the right-hand side.
- Scroll to the bottom of the dialog box and click on PREVIEW. All of the dimensions will appear.
- Click APPLY (next to PREVIEW) and the dimensions will be finalized. You can now start editing the dimensions however you’d like.
This tool is really great for when you need to produce dimensions quickly.
Mouse Gestures
DraftSight has a really wonderful “shortcut” for getting things done quickly called MOUSE GESTURES. If you right-click and drag your mouse in a specific direction, you can select a feature really quickly without typing a thing!
To add or edit a command on the Mouse Gesture Wheel:
- Go to the MANAGE tab, in the CUSTOMIZATION section, click on MOUSE GESTURES.
- To add in a new command, you can select from the list shown or you can type in the search bar for a specific command.
- When you find the command you’d like to add to the Wheel, on the right-hand side under SELECT, choose what direction you would like the command to be associated with.
- Click OK and now when you right-click and drag to use the Mouse Gesture Wheel, your selected command should appear on the wheel.
This tool is great for if you want to increase efficiency and speed while drawing in the 2D space.
Join us September 7th – for the Discover DraftSight for Landscape Architects webinar at 11am ET to learn more.


Brooke Storey