Auto Dimension in DraftSight 2020 Beta


I’ll be honest here, one of my least favourite things to do on a drawing is adding in dimensions. It’s time consuming and, lets face it, a tad boring! If you’ve downloaded the DraftSight 2020 Beta, you might have noticed a new tool that aims to speed things up. It’s called Auto Dimension and it does exactly what its name says.
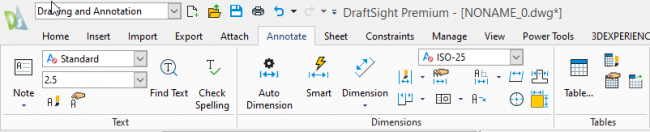
So, where can you find it? Well it’s in the Annotate Menu along with all the other dimension tools.
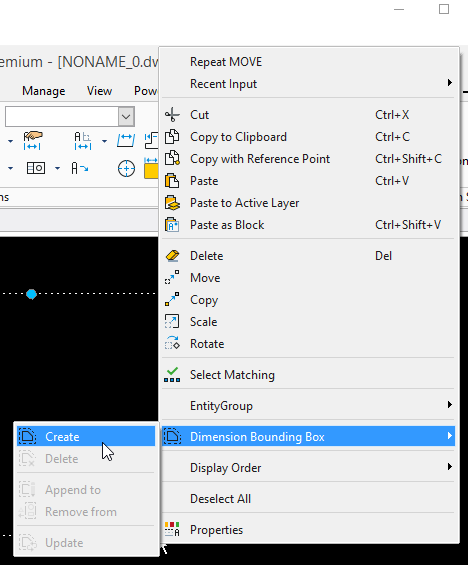
So, how do I use it you are probably wondering, well it’s quite easy actually. The first thing to do is to setup a Dimension Bounding Box. To do this, just select the entities you want to dimension and then Right Click on your mouse and go to Dimension Bounding Box and then Create.
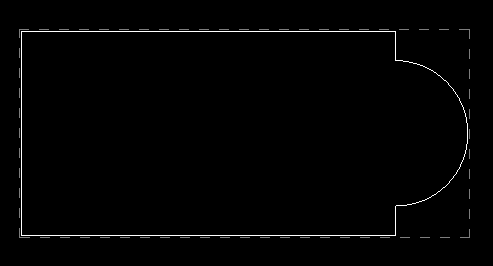
You’ll see your Bounding Box displayed around your selected objects.
Next step is to click on Auto Dimension and select your entities. Then, scroll down, click on Preview.
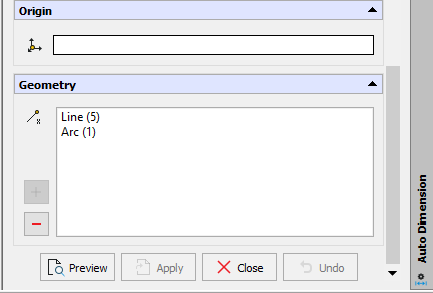
If you are happy with the results, just click on Apply and then Close.
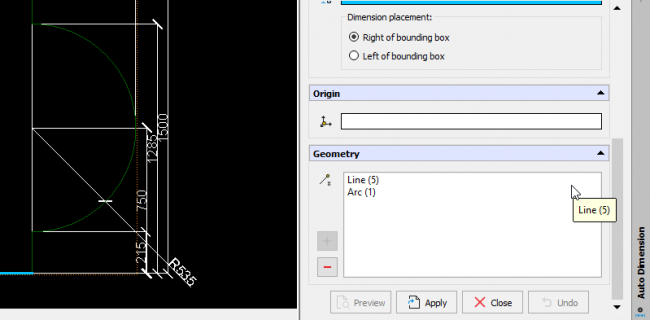
If you want to, you can move or erase dimensions that might be clashing or are not needed. Don’t forget to set up your Dimension Style to suit your drawing. To do this, you simply type DIMSTY at the Command Prompt.
And that’s it, that’s a very brief introduction to the Auto Dimension tool in the DraftSight 2020 Beta.
Learn more about DraftSight 2019 here.
Latest posts by MJ Smyth (see all)
- Resetting DraftSight to Default Settings - April 12, 2021
- Associative Patterns in DraftSight 2021 - March 24, 2021
- DraftSight 2021 SP0 Now Available - March 3, 2021