DraftSight Customization Options
If you are a newcomer to DraftSight®, but are familiar with CAD systems, you will have no trouble settling in and getting up to speed with DraftSight. Depending on your preferences though, you might want to make a few changes.
The first of which has to do with the Cursor and Crosshairs. By default, the DraftSight Cursor looks like this:
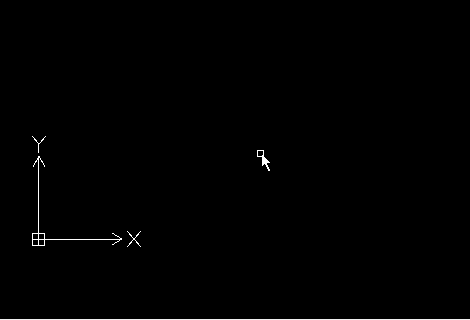
And by default, the DraftSight Crosshairs look like this:
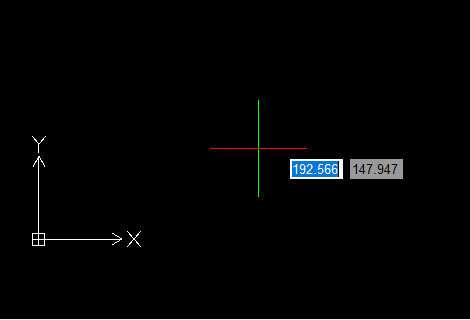
If you would like to change them, you can do this by typing Options at the Prompt or by selecting it from the Manage tab.

The Options dialogue box will load. Next, go to System Options and expand the Graphics Area.
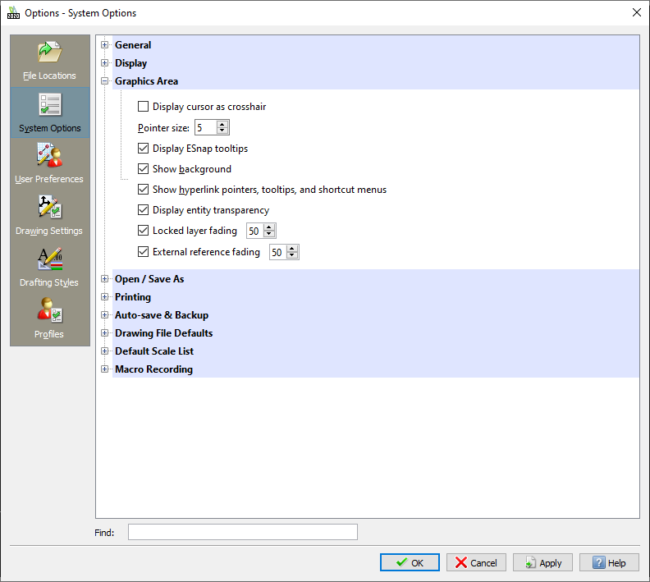
You can see that Display cursor as a crosshair is unticked, so enable this setting. Next, set Pointer Size at 100 and click Apply.
When you close out of the Options dialogue box, you will see that your Cursor is now a Crosshair and it fills the drawing area.
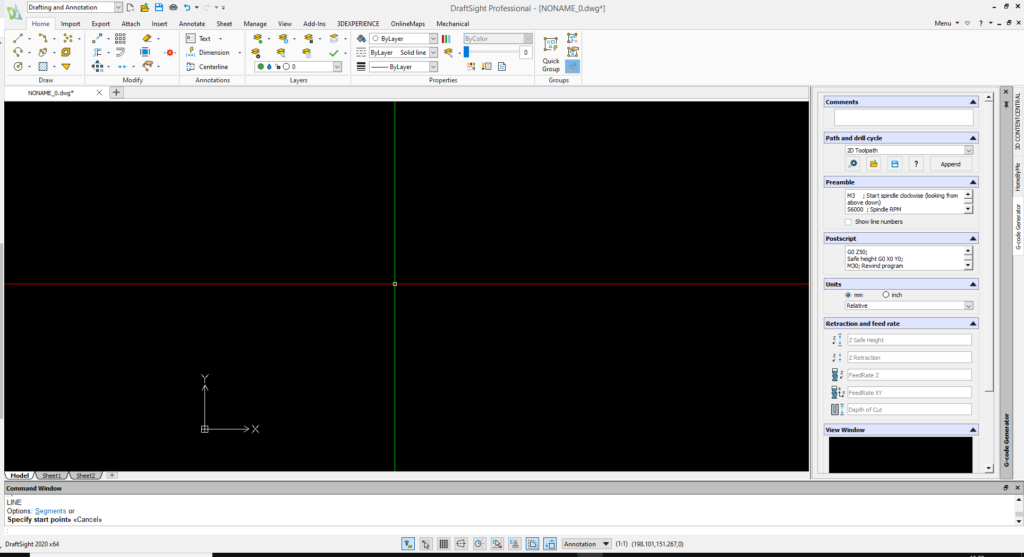
Now, if you start a command such as Line, you will see that the Crosshair also fills the drawing area.
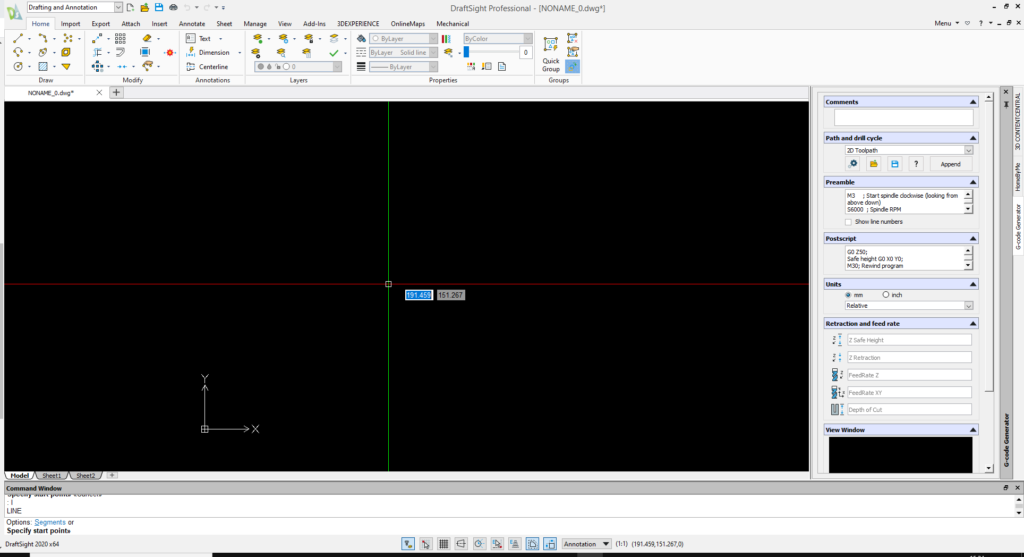
The next tip has to do with the Command Window. By default, it looks like this:

If we open the Options dialogue box, go to Display and then expand Command Window Text. We can enter text directly in the Command Line Text window. In our example, I’ll enter Prompt. Next, just click Apply.
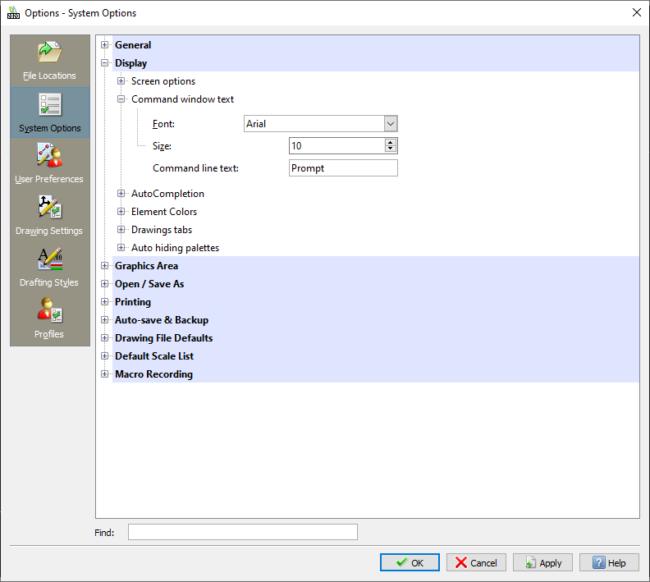
When you close out of the Options dialogue box, you will see that your Command Window now says Prompt. You can of course change the text to whatever you would like it to be.

The idea behind these tweaks is to make users changing over from other CAD packages more comfortable. Over the next few blogs, we’ll go over how to create Command Aliases in DraftSight, along with some other customization options that will enhance your DraftSight experience.
Learn more about DraftSight here.


