Starting A Project in DraftSight – Part 2


OK, in the last blog, I discussed how I start each DraftSight Project. Today’s blog is a continuation of that and will cover the next step, setting up Title Sheets, Drawings and Issue Sheets.
So, we’ve covered what I do when I receive drawings from the Design Team. Just to give a brief recap, I strip them down completely, remove any and all unnecessary information from them, change the layers to my standards and then purge the drawings. The next step is to setup the drawings. The first step is to create a Drawing List. This list is obviously dictated by the type of project and the amount of floors in the project. So, for example, in a 3 Story Building, for Power and Lighting Layouts, the Drawing List would look like this.
- E001 – Electrical Site Works
- E002 – Electrical Schematics
- E101 – Power and Data Layout – Ground Floor
- E102 – Power and Data Layout – First Floor
- E103 – Power and Data Layout – Second Floor
- E204 – Lighting, Emergency Light and Smoke Alarm Layout – Ground Floor
- E205 – Lighting, Emergency Light and Smoke Alarm Layout – First Floor
- E206 – Lighting, Emergency Light and Smoke Alarm Layout – Second Floor
Depending on the project, there may be Security Drawings labelled E300 and possibly Fire Detection Systems labelled E400. So, after creating my Drawing List, I know that there will be 8 CAD Drawings to produce with 4 Xrefs in use (site layout and the 3 floors).
In DraftSight, I use the References command and Attach the correct Xrefs.
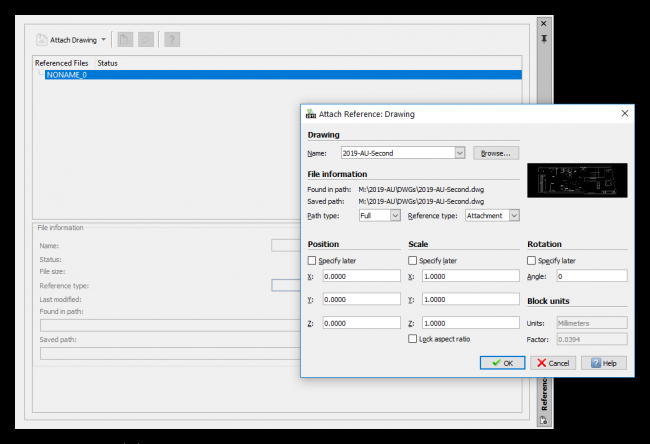
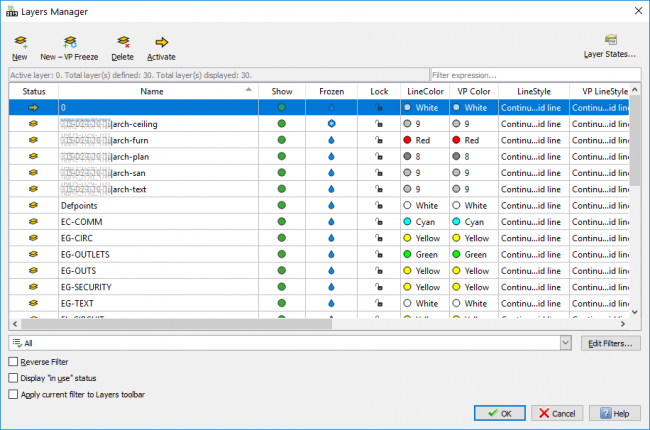
Once the References are inserted into the drawings, I insert a Block that contains most of the necessary entities for that drawing. So, for the Power and Data Drawings, I insert a block that contains a Single Socket, Double Socket, Data Point, Twin Data Points and so on. Also, by inserting that block, it also creates all the necessary layers for the equipment in the drawing.
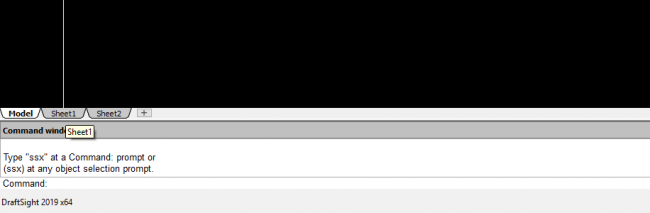
OK, so where are we now… We have our Reference Drawings inserted and we have our Blocks inserted and our Layers created. The next step is to go to Sheet Mode and Insert our Title Block / Sheet (click on the Sheet Tab at the bottom of your drawing).
Once in Sheet Mode, use the Insert command to select and insert your Title Block / Sheet.
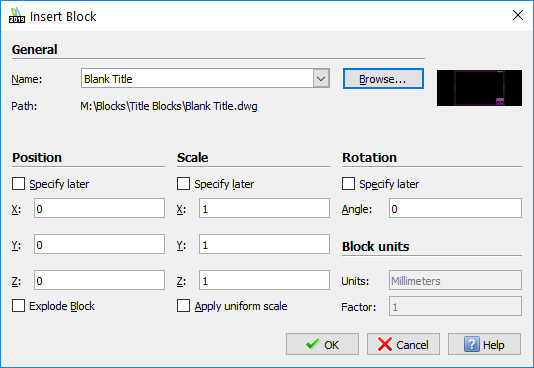
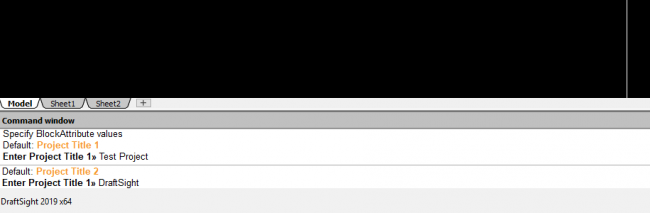
I leave the Position, Scale and Rotation check boxes unchecked as I want the Title Block / Sheet to go in at 0,0,0 and at a Scale of 1 and not Rotated. The Title Block / Sheet I use prompts the user to fill in data as it is been inserted. As you can see below, it is looking from Project Title information. It will also prompt the user to insert Drawing Name, Project Number, Revision Number, Drawn By and a few other data fields. In a future blog, I’ll show you how to create a Title Block / Sheet with these attributes.
Once the Title Block / Sheet is inserted and the data fields filled out, we are now ready to start our layout drawings. We click back into Model Space by clicking on the Model tab and start our layouts.
So, that’s how I setup my Drawings in DraftSight. It’s a quick and simple method and the beauty is and can be updated very quickly should you need to. As I said above, in our next blog, I’ll discuss creating a Title Block / Sheet with attributes, so stay tuned for that!
IMPORTANT:
DraftSight 2019 for Windows® is offered in paid versions only.
Once you download and install DraftSight 2019 (free 30-day trial or purchased version), you will no longer be able to re-download or access any previous free version of DraftSight (2018 or earlier). All free versions of DraftSight (2018 or earlier) will cease to run after 12/31/2019.
Learn more about DraftSight 2019 here.
Latest posts by MJ Smyth (see all)
- Resetting DraftSight to Default Settings - April 12, 2021
- Associative Patterns in DraftSight 2021 - March 24, 2021
- DraftSight 2021 SP0 Now Available - March 3, 2021